When I was attempting to furnish our guest room last year, I bought and hung a pair of linen-y curtain panels to outfit the space. They were too long, but I never got around to hemming them.

It’s a good thing I never hemmed them because they’re not in that room anymore. That guest room is now the nursery, and it has its own curtains. I decided to try the curtains down in the sitting area at the back of the dining room that was rocking a valance Nana made when we first moved in.

The valance was hung on a rod that was screwed into the trim, which wouldn’t fly for the new panels I wanted to hang.

I unscrewed the rod and sanded down the area to prep it for white paint.

With the trim all touched up, it was time to address the curtains having a gathered, bunched, look. I wanted a pleated look so just like I did with the nursery curtains, I sewed on a few pieces of ribbon to create the effect I was after.

As I was patiently waiting on Harrison’s arrival, I was also patiently waiting on Matt to re-hang the brackets. He eventually obliged and I popped the old guest room curtains up. They won’t always be sporting the “It’s a Boy” banner… just for a little while longer. ;)
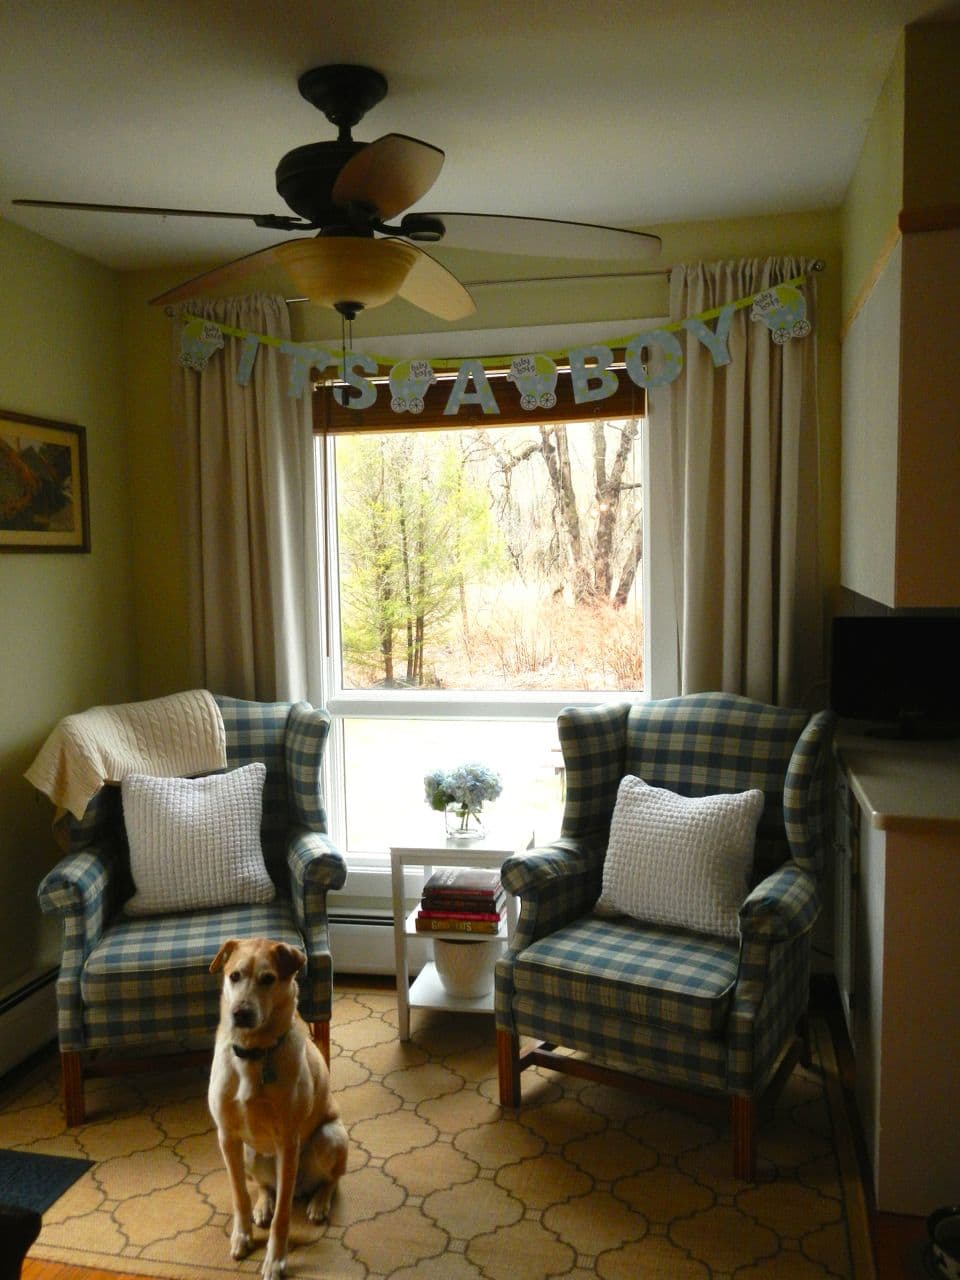
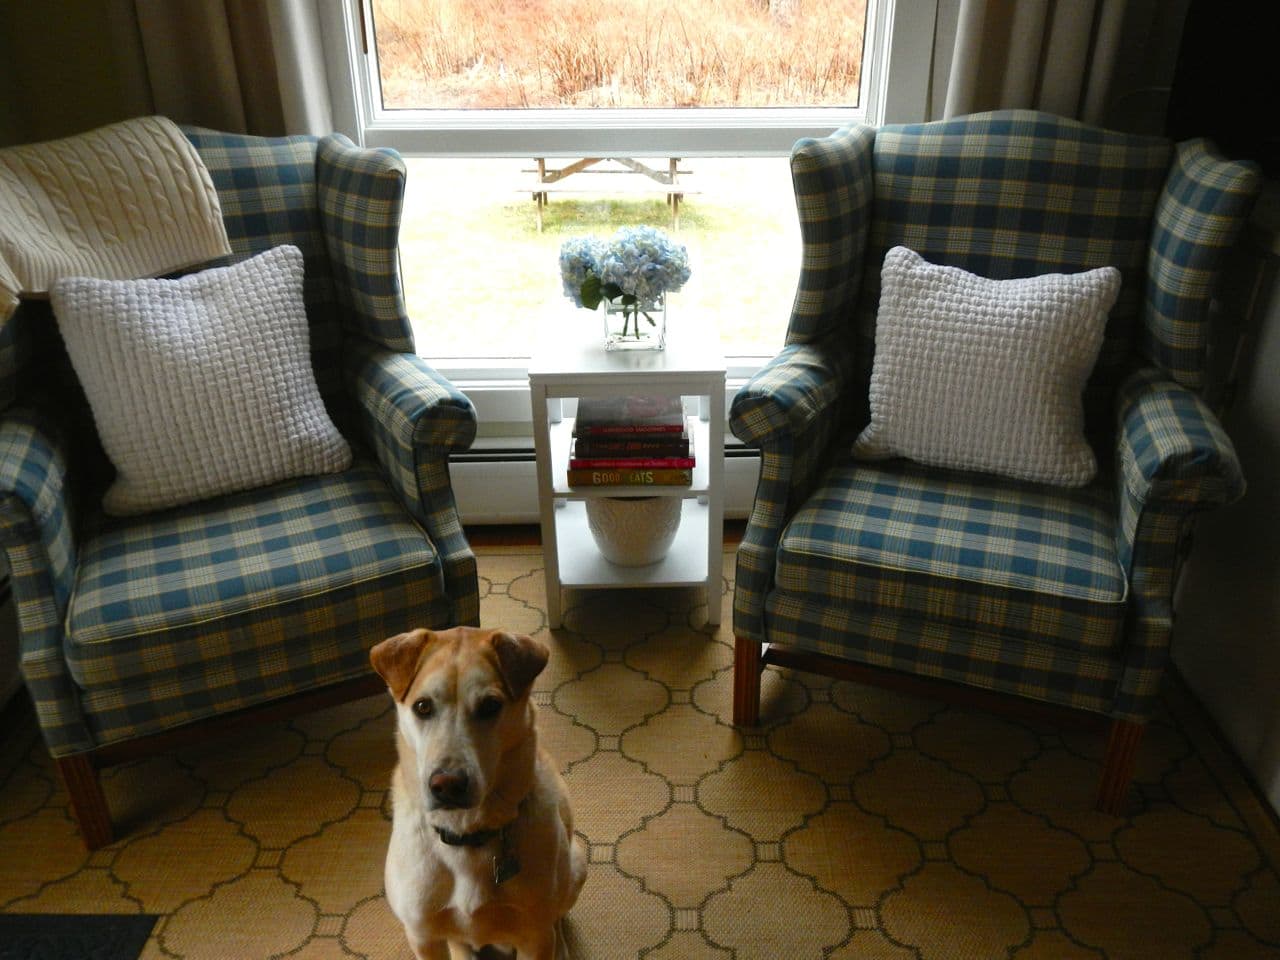
I like the change. I also like how it makes the window look larger. Griff is indifferent, as usual.
I want to replace the brown wood blinds with white wood blinds. We got a quote for somewhere around $300. Before we go ahead, I want to try spray painting them. Yes, you read that right. I want to try spray painting my wood blinds. Don’t tell Matt. He already thinks I’m crazy enough as it is.