In the guest room sneak peek, I showed you guys the rug I bought for the space, as well as the fabric I was inspired by to update the larger of our two spare guest rooms. You might have also seen the paint color we chose, and some new white outlets. Well, the room is done! As done as it is for now, that is. The curtains are hung and we’re good to go. I was originally set on keeping the existing navy cotton tab top curtains because they matched part of the bedding AND they were something I already had on hand, but in the end, they were dragging the whole room down to a dark place and I wanted the room to feel neutral, light and bright, with some fun pop of color.
Off to Target I went (It seems this whole room is from Target!) and I spent a while perusing the curtain aisle. I was armed with a gift card, and I wanted to use it wisely. I really loved some of the geometric prints in natural colors, but in the end, I decided on something very plain: a curtain in a color called Farrah Cream from Target’s “Threshold” line. Here they are below:
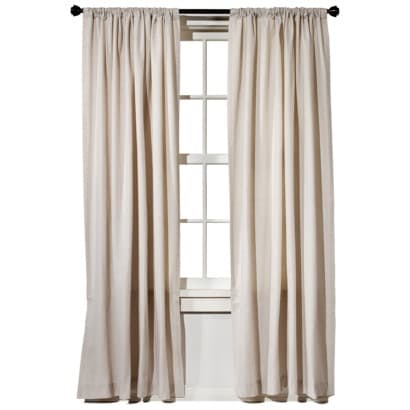
They look a bit boring in that picture, but in real life, they have a slight linen-y texture that gives them a subtle warmth. Here’s my attempt at capturing that texture with my camera’s macro mode.
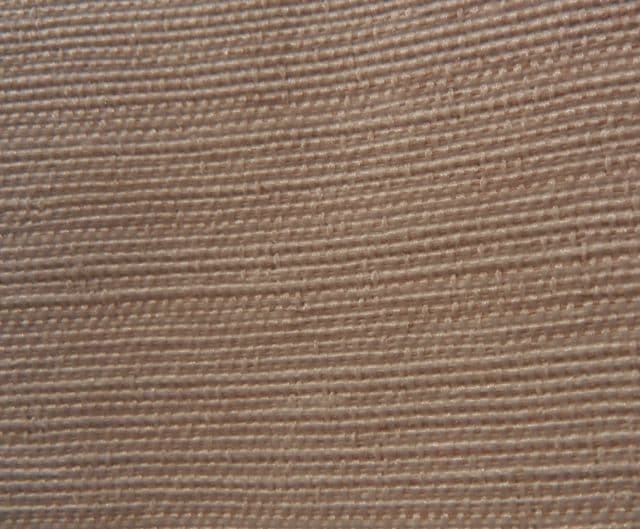
See? Not that boring in real life. What I especially love about these curtains is that one day, I can use them in a different room, or even in a different house waaay down the road. They’re so versatile, and I can add my fun patterns and color in accessories like pillows and table accents.
I also wanted to do something different with how the curtains were hung. I was growing tired of the panels hanging side by side. While I was at Target, I picked up some tiebacks in brushed nickel to match the existing curtain rods to complete my vision. Another part of my vision is using one panel for each window, instead of two panels per window. It saved me 50% and I like the way it looks. Score! The panels were on sale and both came out to be around $27. This guest room window update came out to under $40 with the tiebacks. I’m happy with that. Especially when my handyman is cheap free and my gift card spared my own wallet the expense. :)
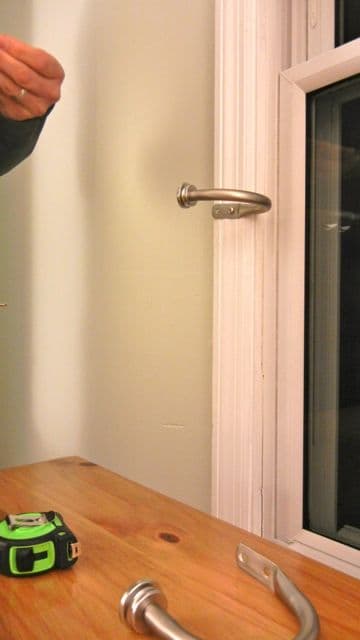
I had Matt hold up the tieback while I looked from across the room to determine the appropriate height. The height I liked ended up being about 3/4 up the bottom window in both cases. First, Matt held up the tieback in the right spot while making a mark with the tip of his drill where his pilot hole would go.
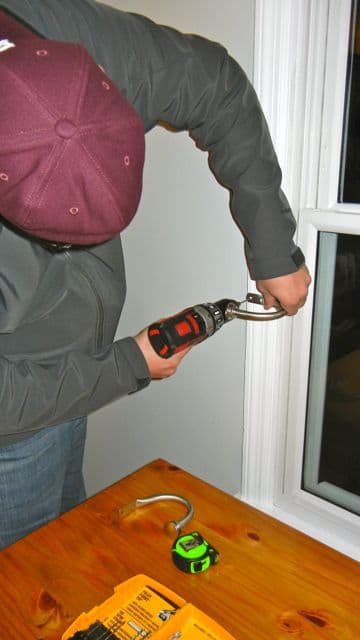
Then he drilled the pilot hole with his fancy drill. I can’t believe it has a light on it. Mr. Fancypants.
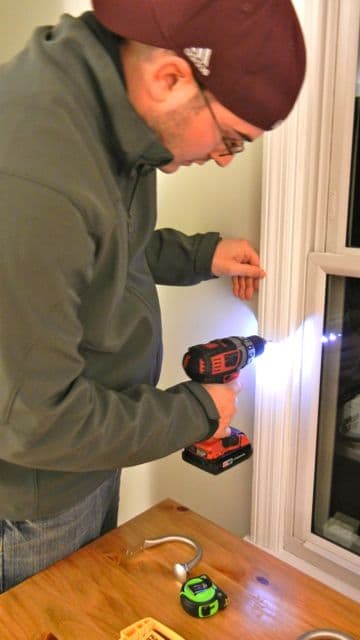
The result was perfect!
I scurried off to iron the curtains and planned to hang them up in the morning light.
The next morning, I hung up those babies and loved the look!
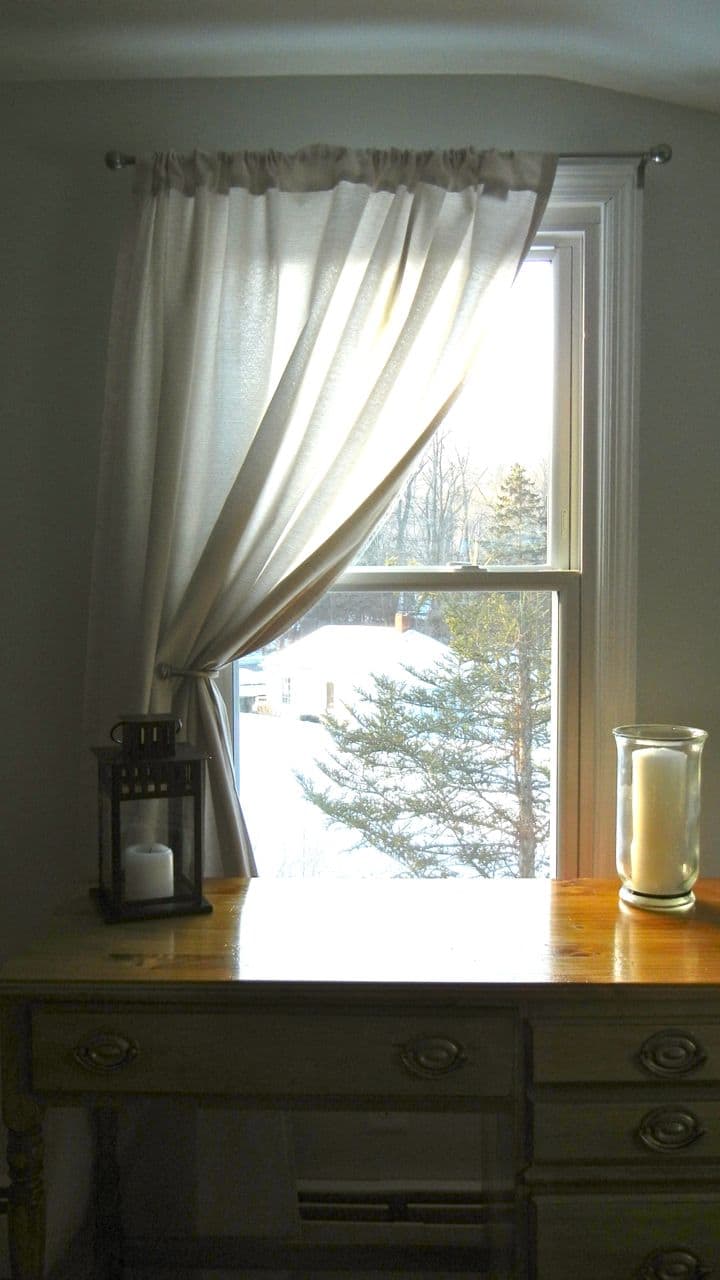
Success!
Do you like the look of one panel per window? You’ll be able to see how the other window looks in my guest room reveal tomorrow. I think it looks quite whimsical and it’s easy enough for our guests to pull the curtain out of the tieback for privacy. Plus, I think the one panel per window trick makes the room seem more cohesive, somehow. The windows look like they belong together instead of separate entities. Any curtain changes happening in your world? How was your weekend? Do tell!