I’m not sure if any of you noticed or not (my guess is no) but last week I skipped my Sunday Cookin’ post. Oops. We had a lot going on prepping for Thanksgiving and I just couldn’t carve out time to get ‘er done. My apologies.
I did, however, finish painting the beam that runs through the kitchen and I painted all of the radiators in the guest room. We also found time to rip out the guest room baseboard trim and install new trim. Oh yeah, I painted that, too. See? I didn’t cook but I was still productive. The guest room post will happen soon-ish.
Now, back to today’s cooking adventure…
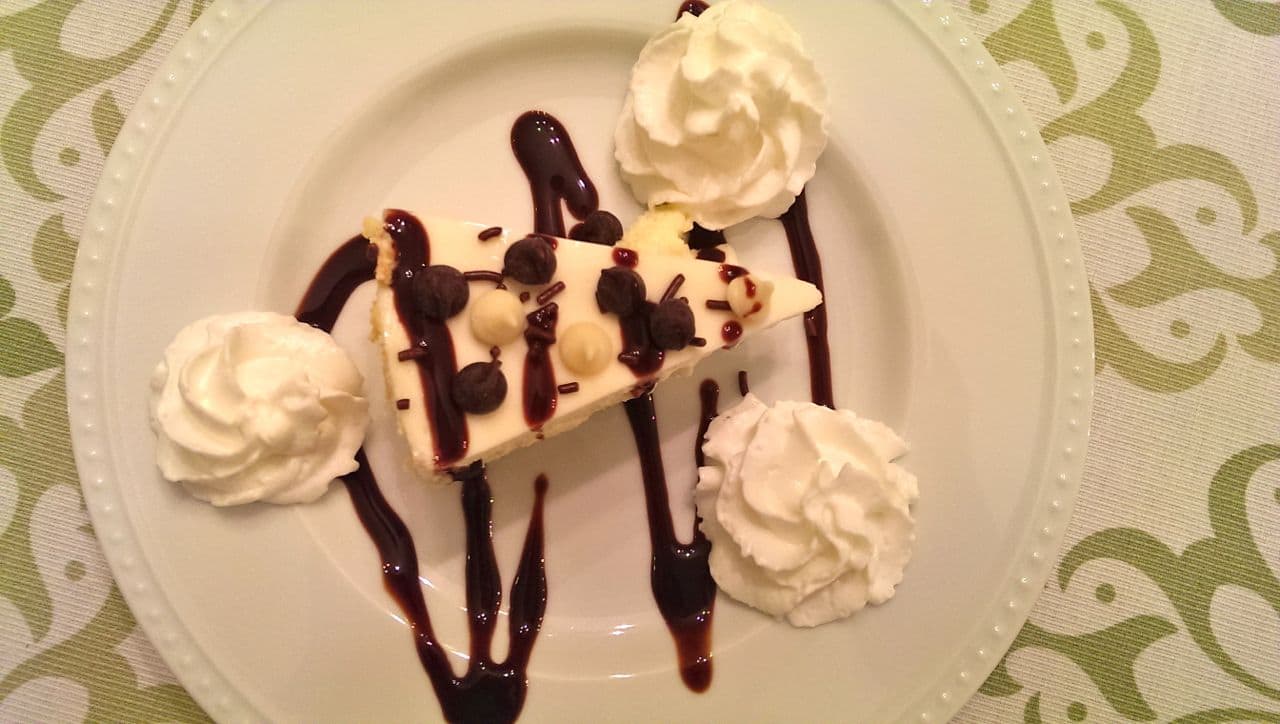
I tackled cheesecake. It’s not my all-time favorite dessert. My all-time favorite dessert would need chocolate as a major ingredient. Alas, I had cheesecake on my mind and had never tried my hand at it, so I gave it a whirl.
I used a recipe that I found on the blog “Cooking with Sugar.” Click the link to access the original recipe.
There were three different sets of ingredients. The first set of ingredients would make up the crust. I came home from the store, and Matt asked if I knew that I could buy the premade crusts or graham cracker crumbs. Of course I know that. I even took a picture at the store to show you that I didn’t take that route (but could have). Buying premade crust doesn’t sit well with the idea that Sunday Cookin’ is supposed to be a little challenging.
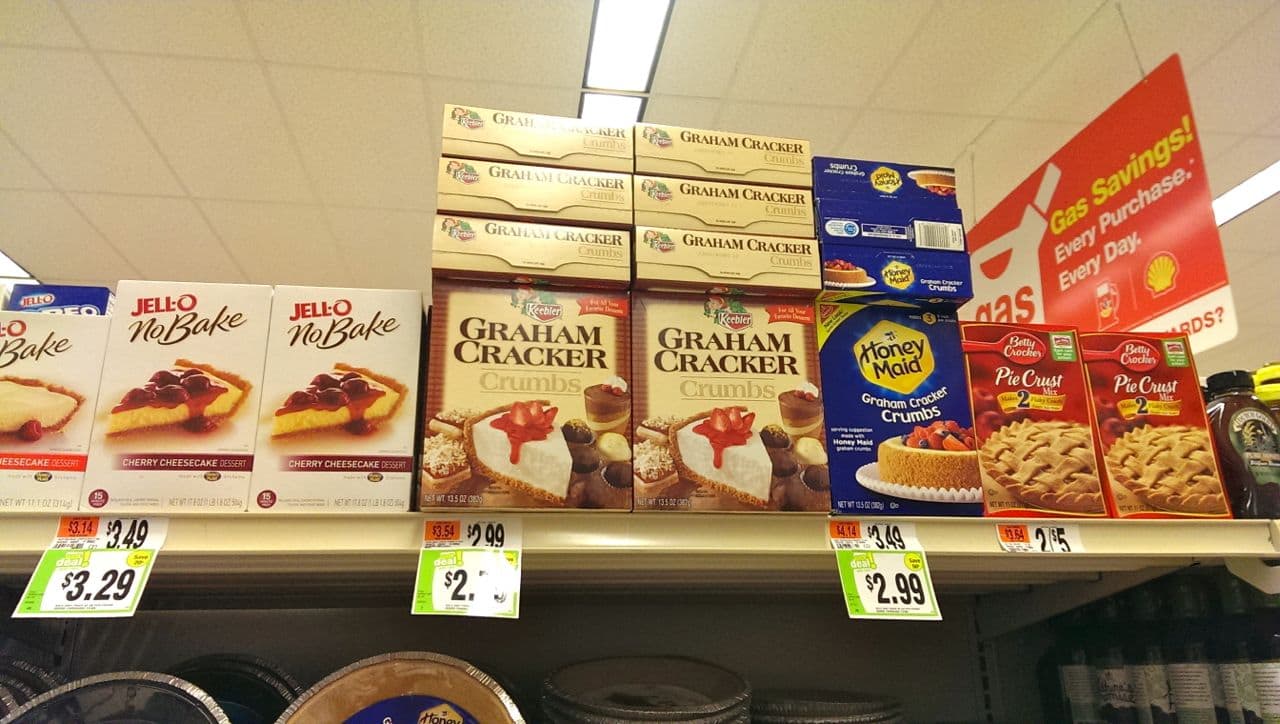
So… I crushed those grahams myself.
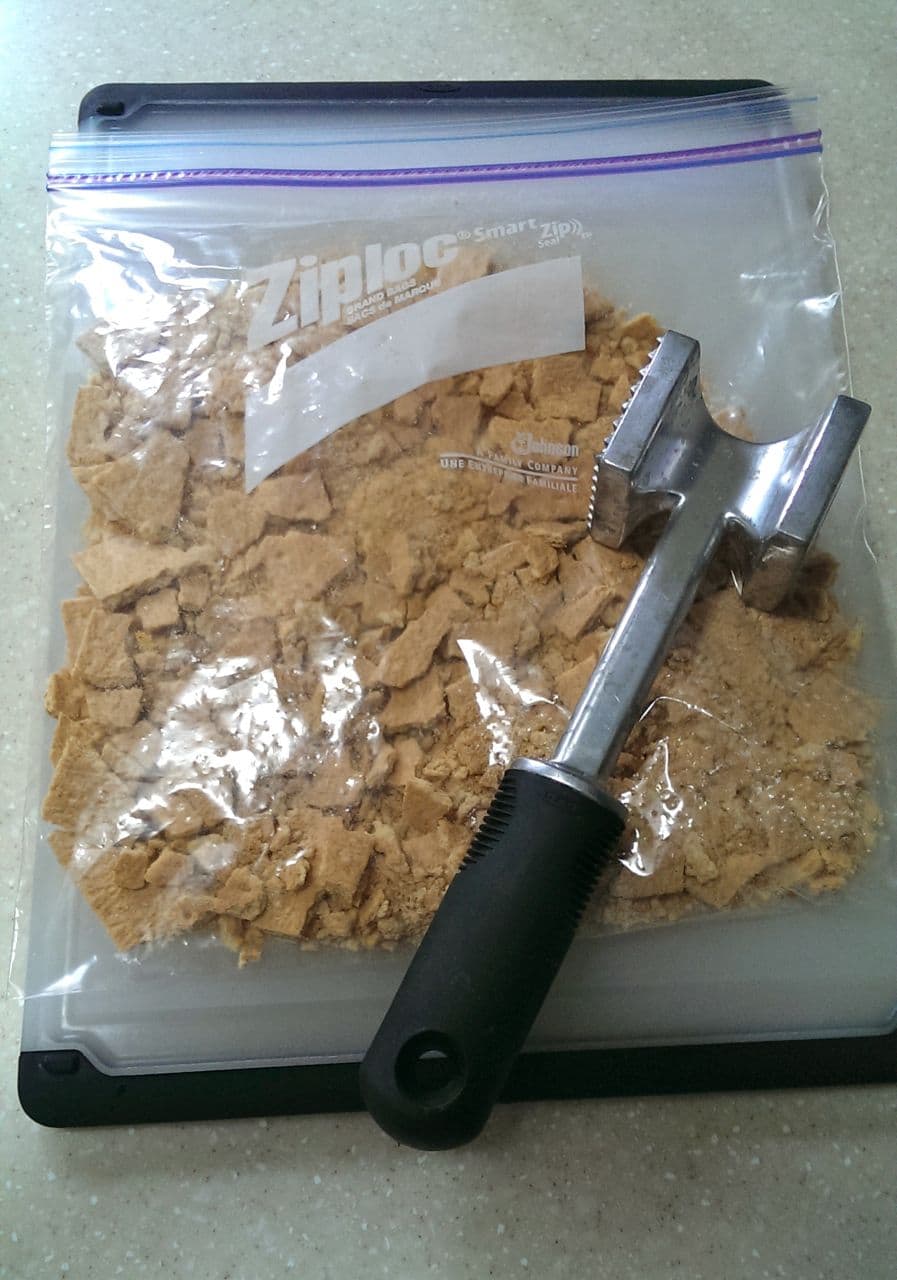
The Crust:
- 1/4 cup sugar
- 1 1/2 cup graham cracker crumbs (I found this to be exactly one package of graham crackers. I still have two packages left for snacking!)
- 6 tablespoons melted butter
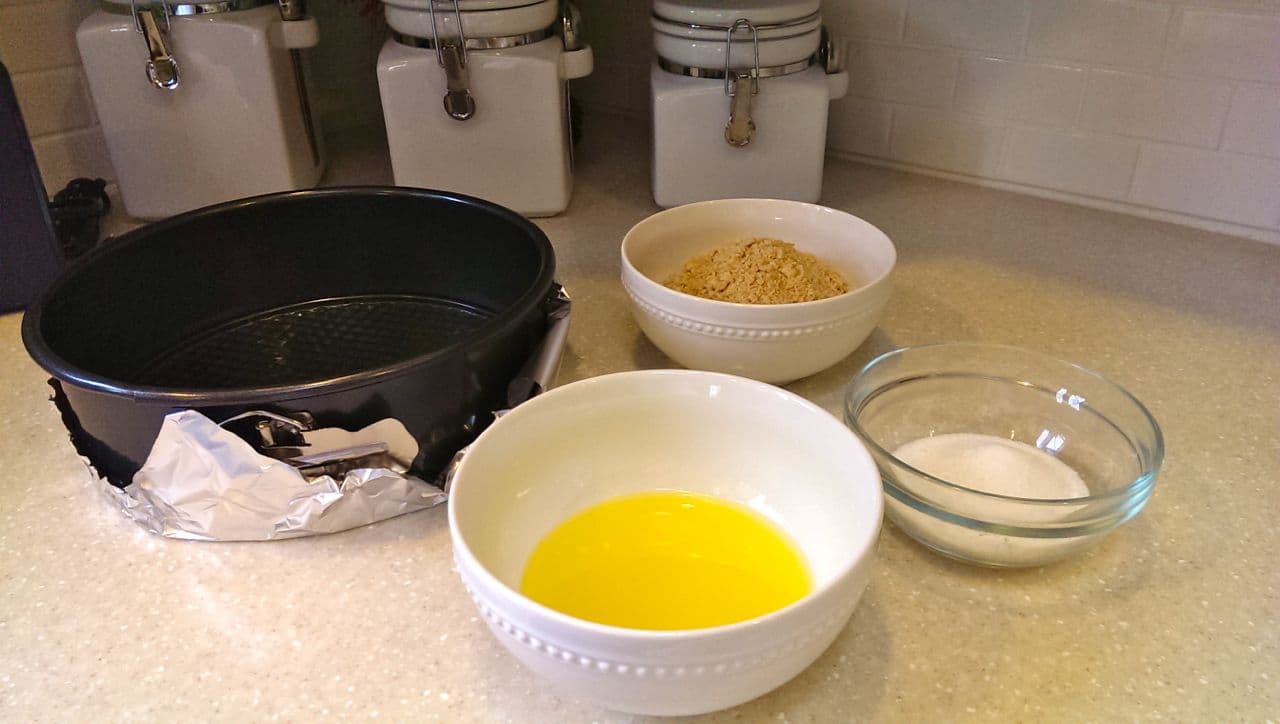
After mixing all of the crust ingredients in a small bowl, I pressed the mixture into the bottom of an un-greased spring form pan. I couldn’t believe we had a spring form pan laying around. The label was still on, so I guess it hasn’t had much use since getting it from my bridal registry 3+ years ago. I’m making up for lost time.
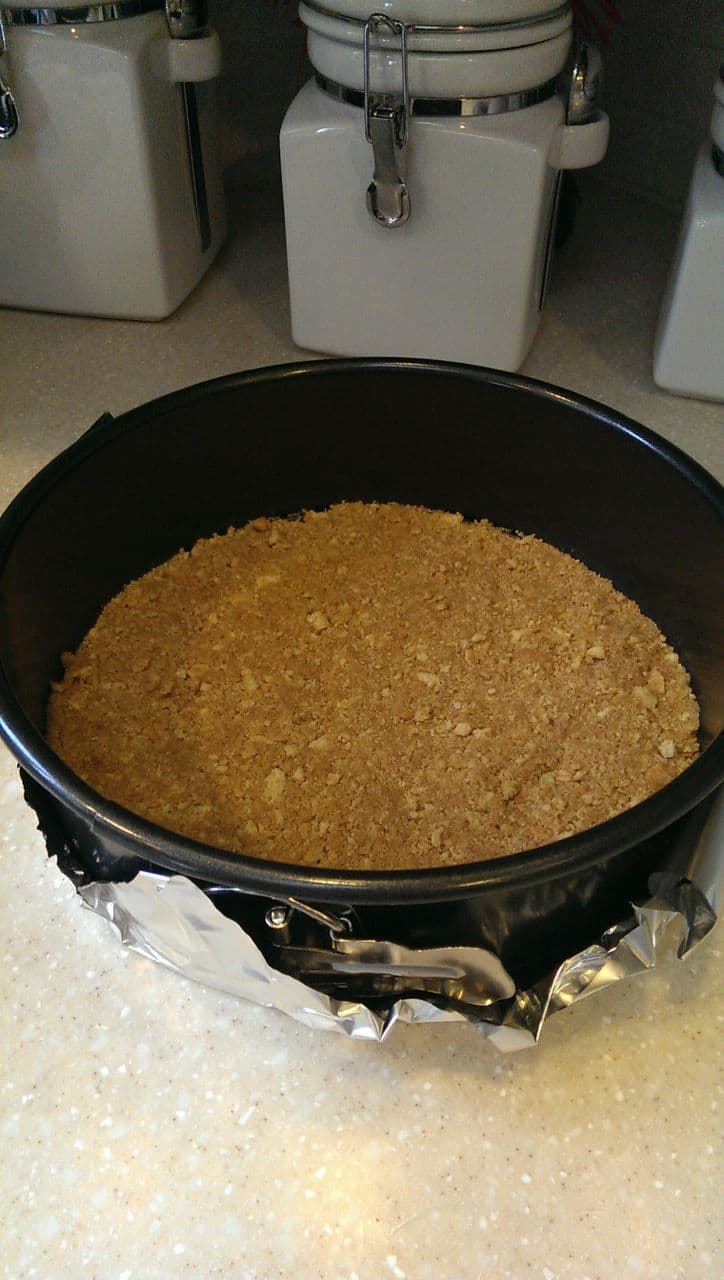
I wrapped the bottom of the pan in foil so that no potential leakage could drip all over the oven. That would seriously ruin Sunday Cookin’ for me. If that happened, I’d probably throw the whole thing out. Luckily, mine didn’t leak but the cautionary measure was so smart. The crust went into a 325 degree oven for 10 minutes, then cooled on the stovetop for another 5 minutes. While the crust baked, I started in on the filling.
The Filling:
- 2 (8oz) packages of cream cheese, softened
- 2 (8oz) tubs of whipped cream cheese
- 1 1/4 cup sugar
- 2 teaspoons vanilla extract
- 2 tablespoons lemon juice (I used the “Real Lemon” juice from the bar aisle instead of squeezing it fresh. I forgot the lemon at the store and didn’t feel like going back.)
- 5 eggs (If you’re thinking that you had no idea how much egg went into a cheesecake, you and I had the same thought process.)
- 2 tablespoons all-purpose flour
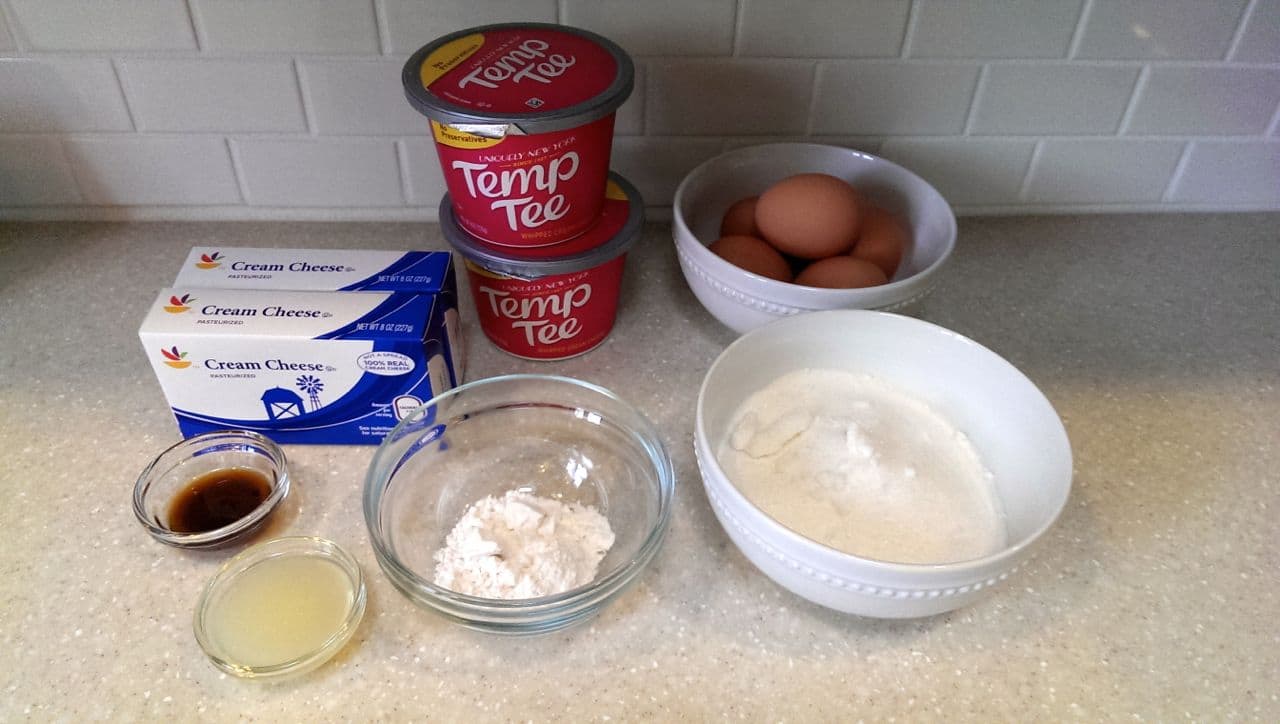
You might notice I went with the store brand for the “cream cheese bricks” and the more expensive name brand for the whipped cream cheese. I didn’t want to spend $20 on cream cheese alone, so I figured if I used a mix of brands, it’d turn out okay while saving a few bucks.
I mixed all of the filling ingredients except the flour and eggs. After everything else was mixed, the eggs went in one at a time and the flour was added at the end. This was the end result. It had the consistency of cake batter.
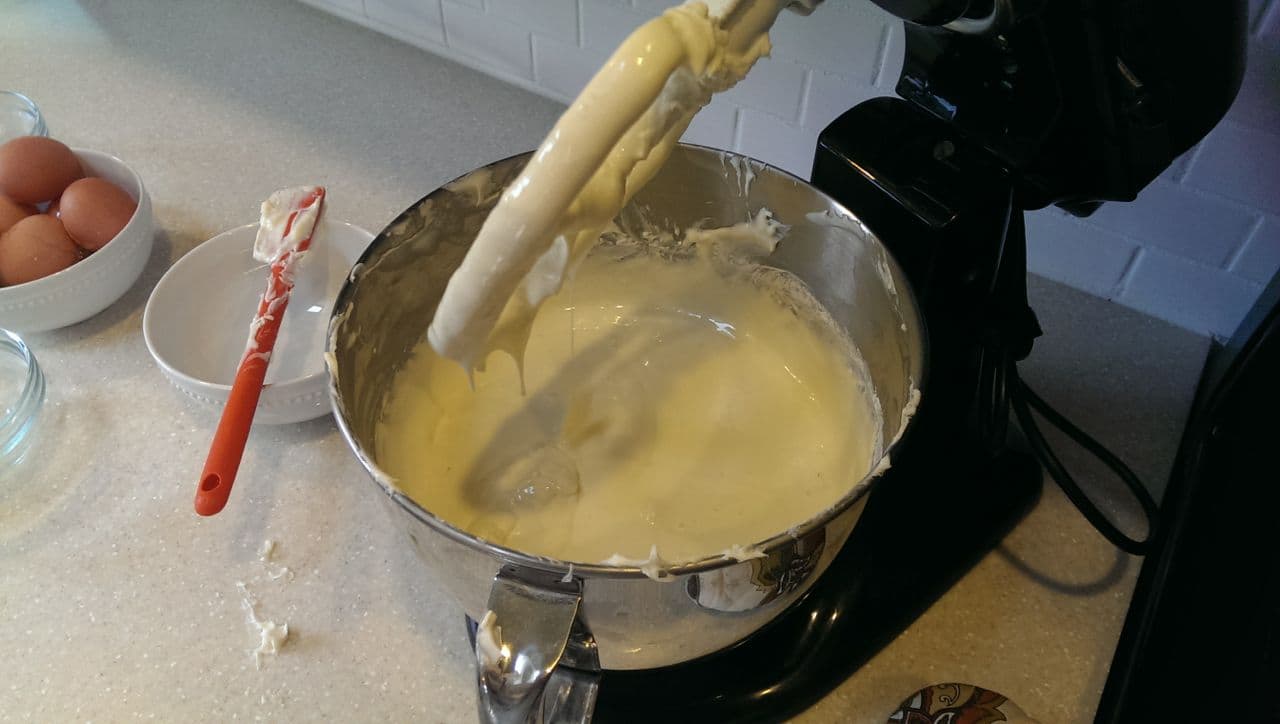
It was creamy and looked how I thought it was supposed to look so in it went to the spring form pan.
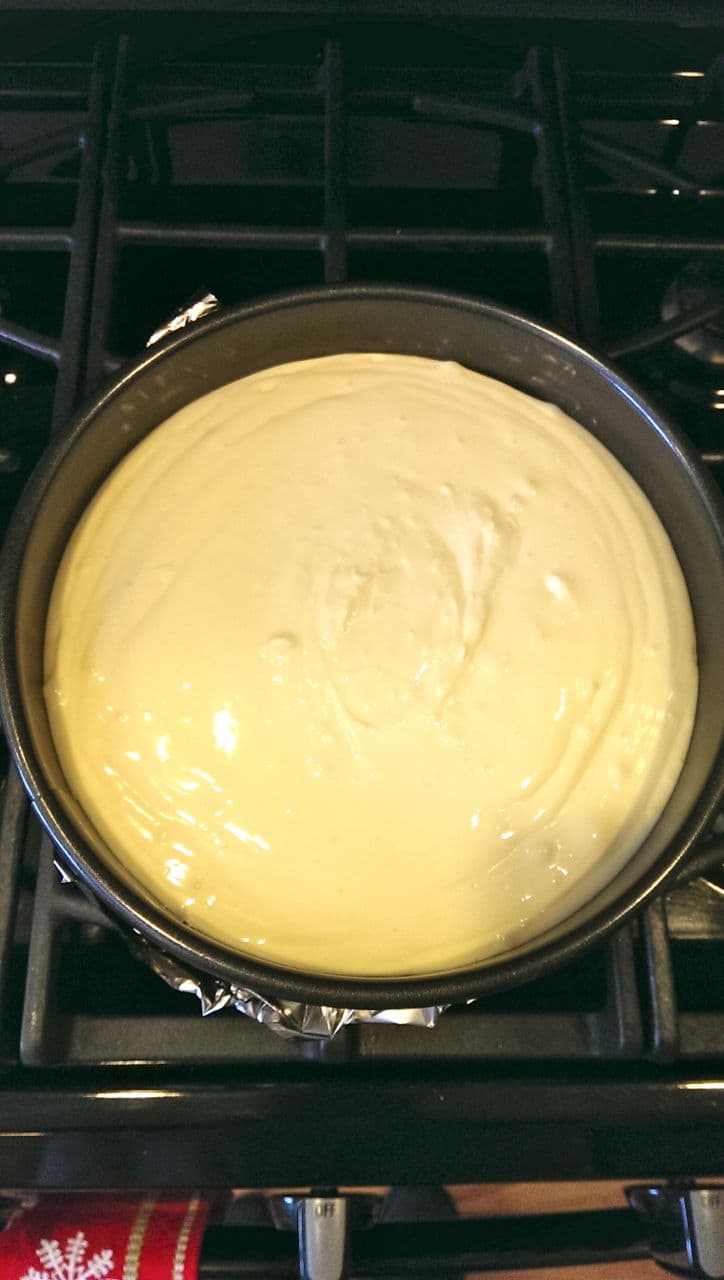
I baked it at the same 325 degrees for 55 minutes, then let it cool for 10 minutes. A few minutes before it was done cooling, I set my sights on the sour cream layer.
The Sour Cream Layer:
- 1 pint sour cream
- 1/3 cup sugar
- 1/2 teaspoon vanilla extract
- 1 tablespoon lemon juice
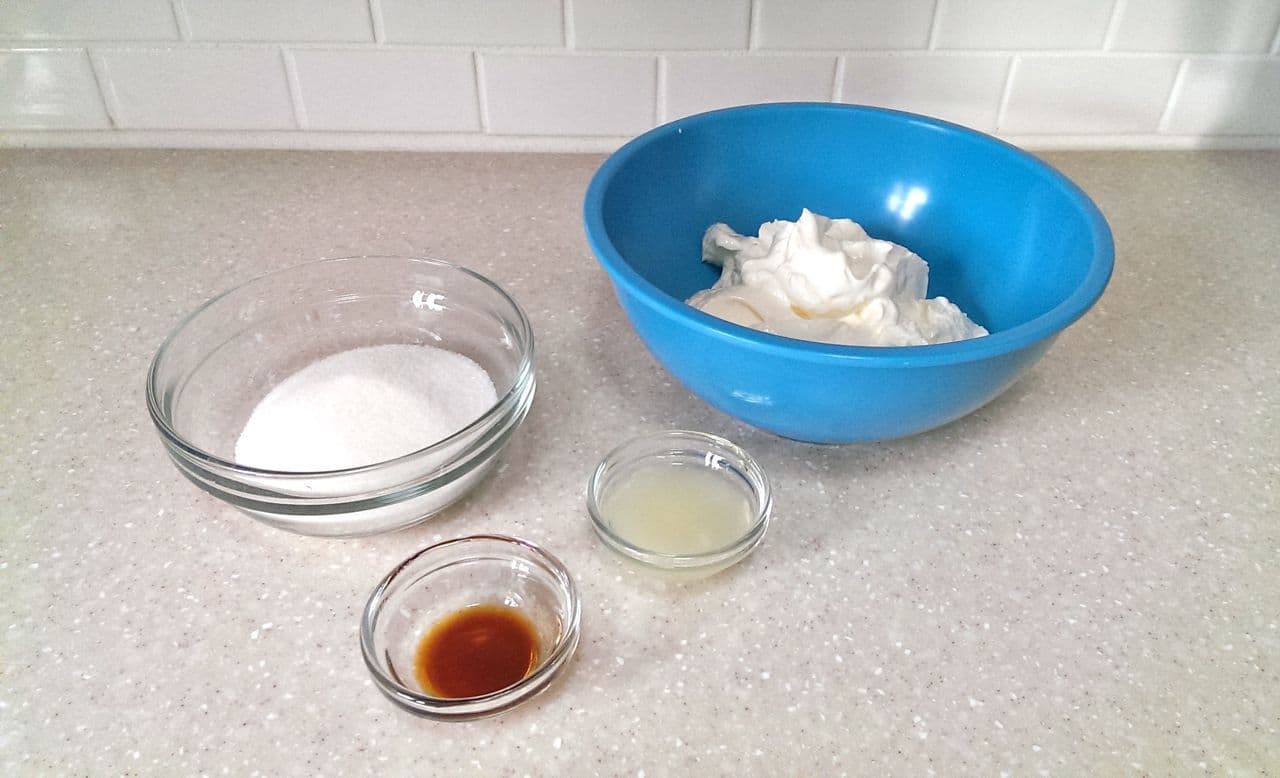
I mixed all four of the ingredients and after the cake had cooled on the stovetop for 10 minutes, I spread it into the top of the cake with a spatula.
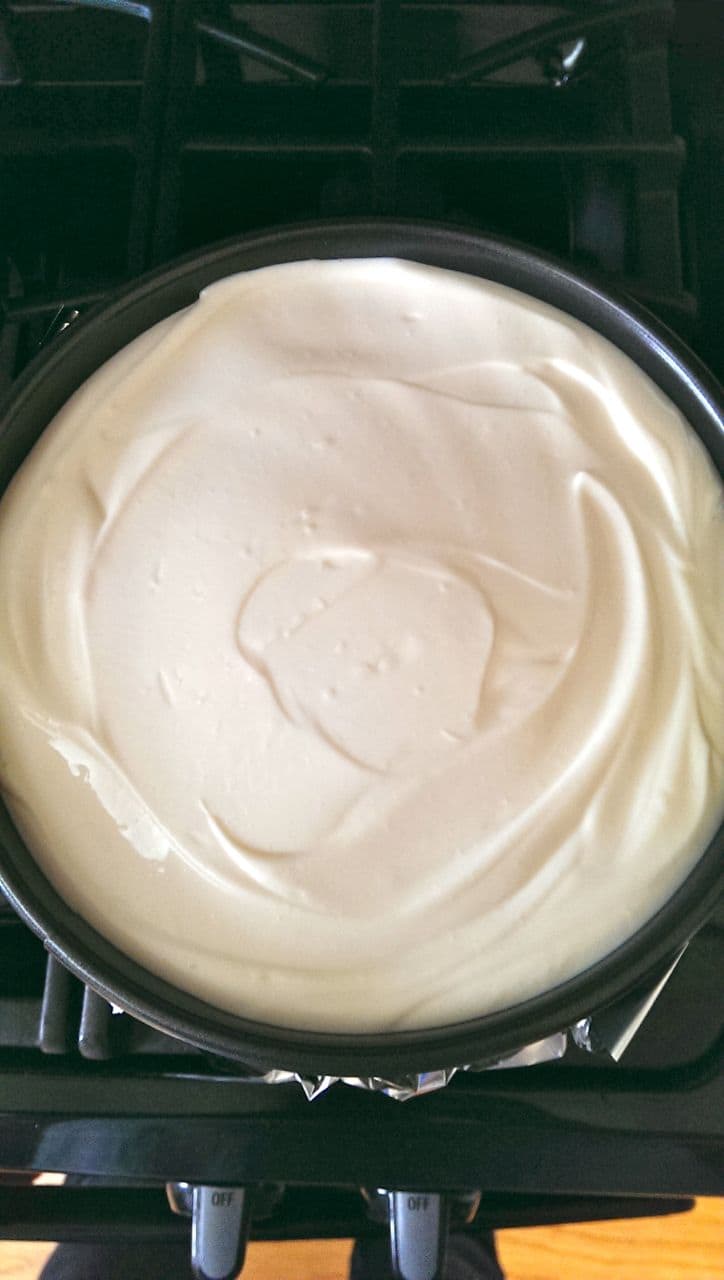
It went back into the oven for 10 minutes, then cooled for 2 hours. Whoa, I know. After the two hours, (mine was about 2 hours and 20 minutes since I ran out to do some errands) it went into the fridge. I wanted to cut into it tonight, so I let it chill for about 4 hours. 3 hours is the minimum refrigeration time - you can also leave it to chill overnight.
The directions said to run your knife around the side of the cake before popping it in the fridge, but I forgot to do that. After I pulled it out of the fridge, it looked to have separated naturally from the pan.
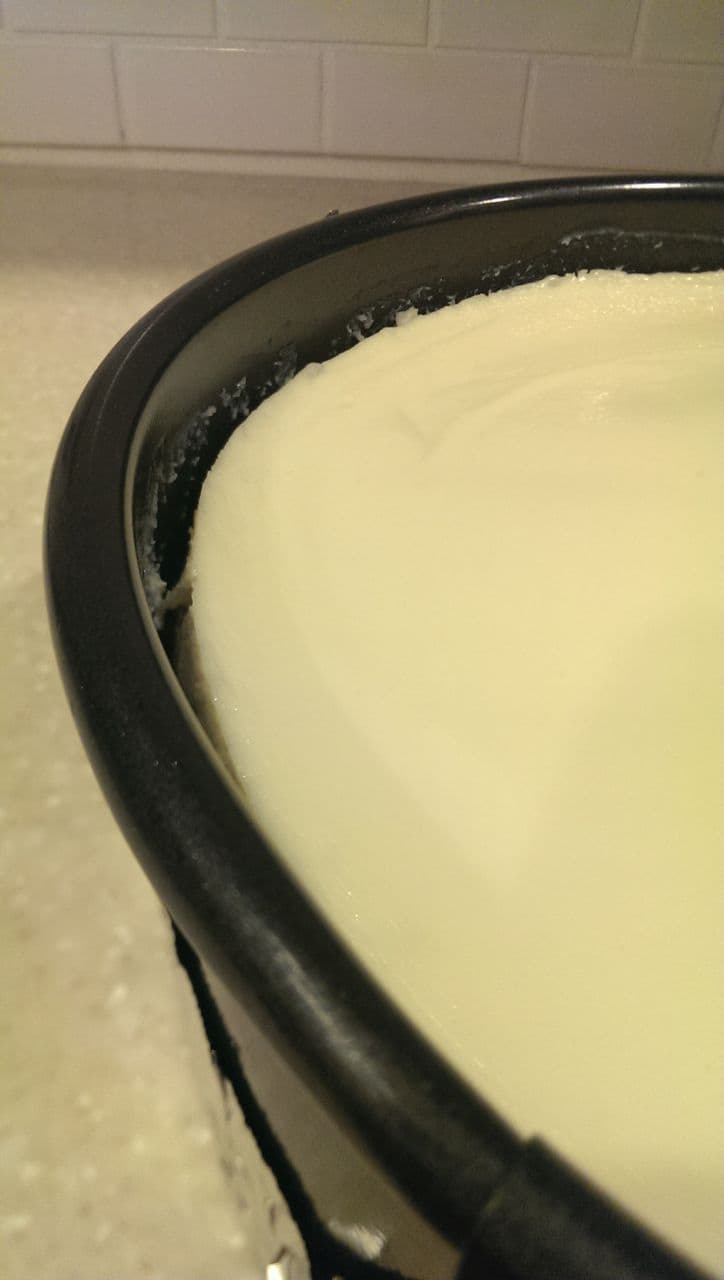
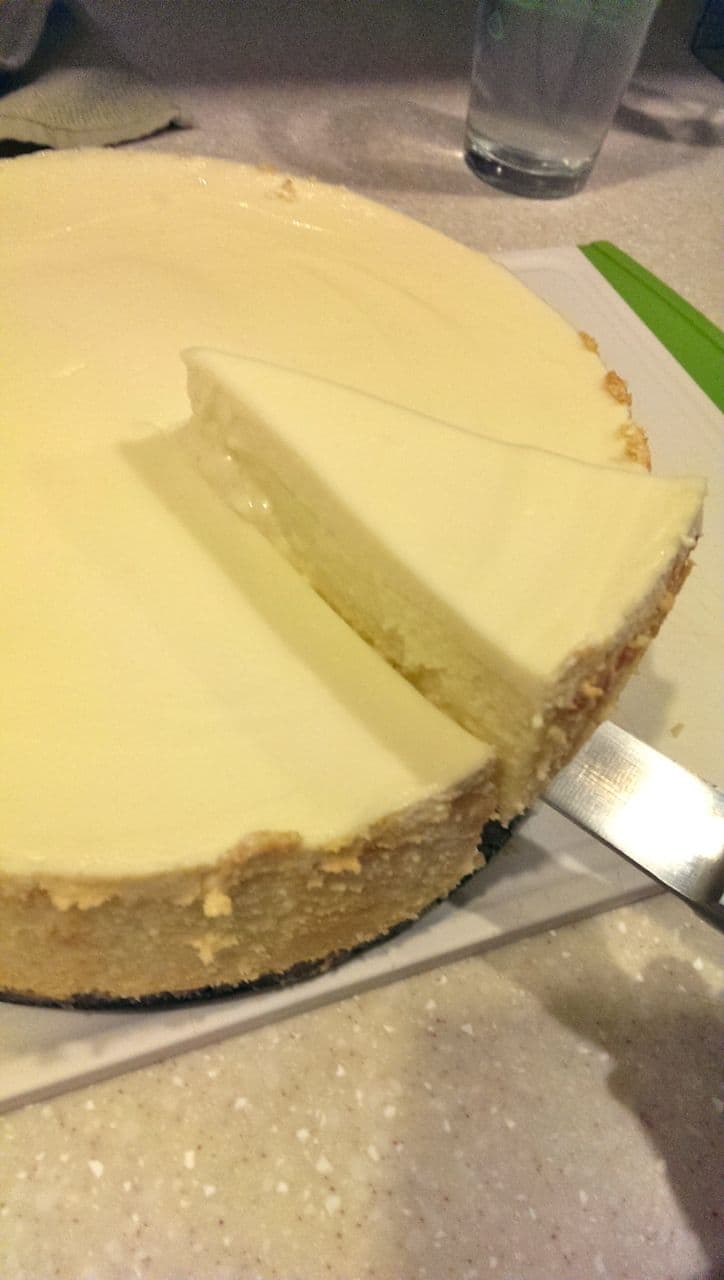
I popped the pan open and slid it over the top of the cake. I have to say, I was impressed with how it looked. I mean, it actually looks like a cheesecake, am I right?!
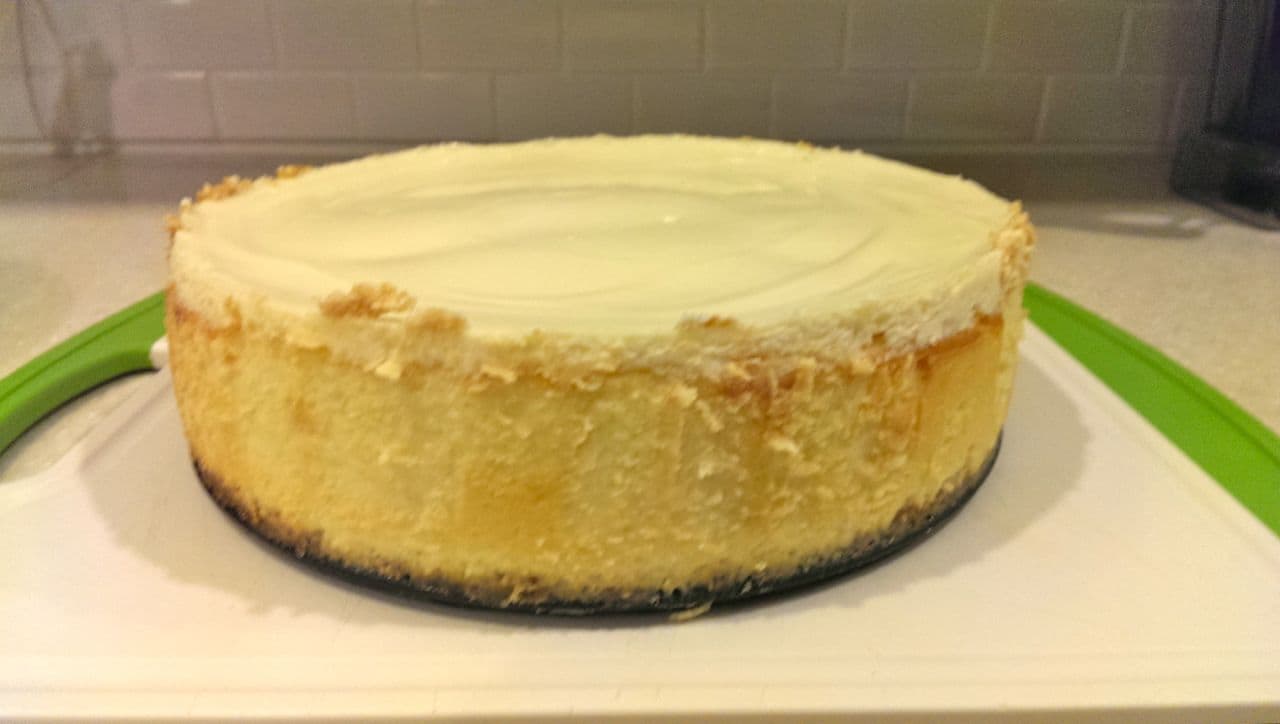
Getting the slice out was of course, difficult. They say the first slice is always the toughest and this case was no different. I used a sharp, flat knife that I ran under hot water before drying it off. Slow and steady…
The original recipe says to garnish with strawberry syrup and fresh strawberries, but did you read that line about my favorite dessert requiring chocolate? Yeah, I went with chocolate dressings. Dark chocolate and white chocolate chips, a few chocolate sprinkles and drizzled chocolate syrup, to be exact. Oh yeah, and some dollops of whipped cream, too.
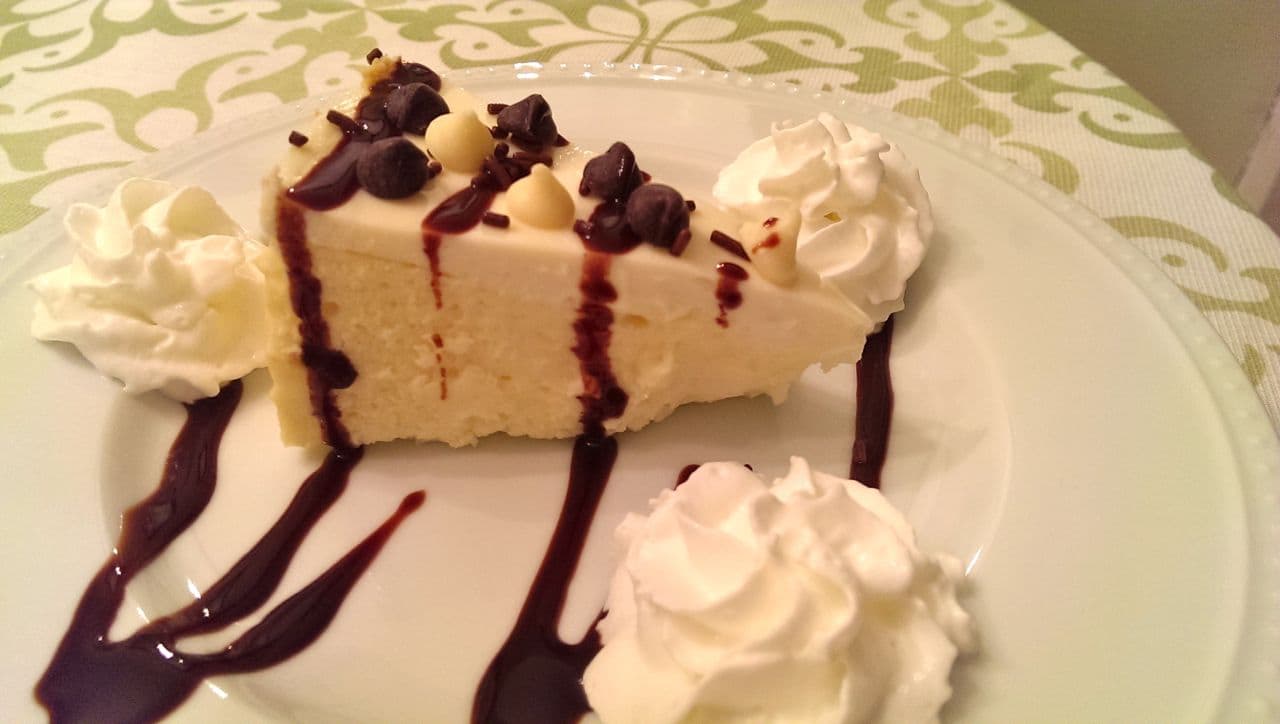
It definitely tasted like cheesecake, so I’d say it was a win. The average cheesecake connoisseur may not think it’s the best thing going, but this infrequent cheesecake eater was impressed with herself. I’m glad I did a dessert this week, because after working in the kitchen all morning and running a bunch of errands, I looked forward to this little slice of heaven all day. The middle didn’t cook as perfectly as the outside, so I might leave it in for a few more minutes next time. That, or maybe raise the temperature from 325 to 335 or even 350.
All in all, it was the perfect cap to a great weekend of relaxing and Christmas decorating!
Did you do any baking this weekend? What about holiday decorating? ‘Tis the season!