It might seem like I’m jumping back and forth between the front porch overhaul and the kitchen. Oh, wait. That’s because I am jumping back and forth between these two spaces. Bear with me as I tackle whatever project strikes me. If I can get the porch and the kitchen done before the first leaf turns this fall, I’ll be a happy homeowner.
Last week, I shared the first part of our front porch overhaul. The steps. They needed to be overhauled, for a few reasons I detailed in that post. After a few hours of work, we became the proud owners of a new set of steps, built by my one and only.

I love them. I do. However, in my book, they aren’t done. Not quite. They’re sturdy and well-made, and they give us a way to get in and out of our home. In Matt’s mind, they’re done. Me? I want them prettier. I don’t want to stare through them to the dirt and darkness of the gross and unknown under-porch. Eek. A massive spider could creep up and grab my leg through those giant gaps. Seriously. This is the stuff of my own personal nightmares.
That being said, I figured that crisp white step “backs” would give me the “farmhouse” feel I’m after. So, I asked my contractor/husband for some stair backs. He made them, but I swear that the next time the power tools come out, I’m cutting the wood. He has to teach me one of these days. We went to Home Depot for the lumber, and we cut it to size at home using both the table saw and the circular saw.
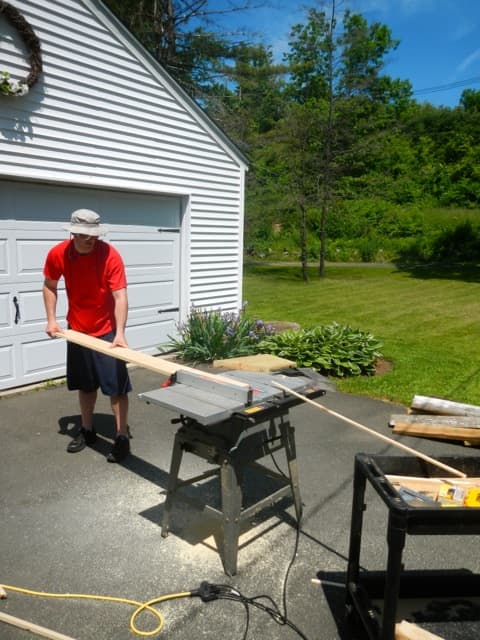
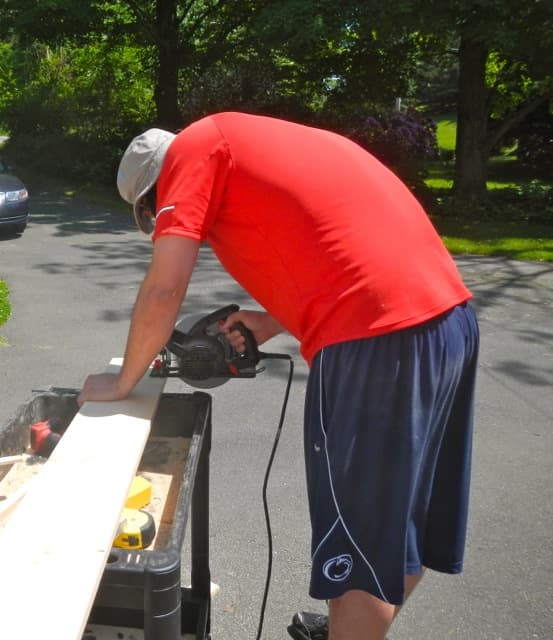
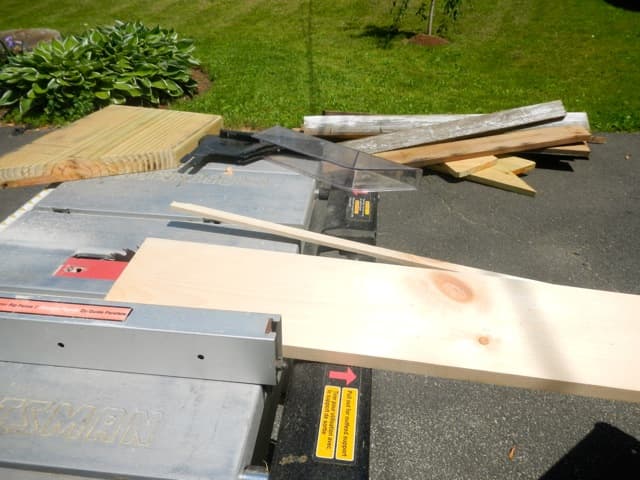
It was a bit messy, as most wood-cutting projects tend to be.
The only snag in this project was that the steps were built so beautifully to size that we didn’t account for the width, albeit small, of the stair backs. Matt used his Fein multi master multipurpose tool for the job, and cut a little wood off of the stringers to make a space for the stair “backs” to fit.

We checked to make sure they fit. My contractor is good.
Then, it was my turn to jump in.

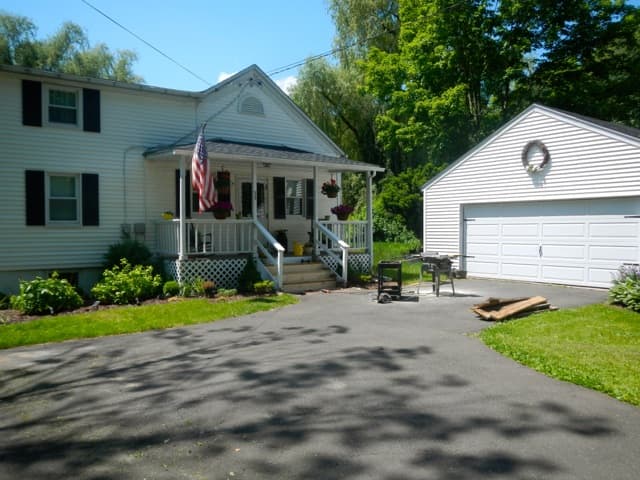
I put three coats of white stain on the stair backs. I did it before they were screwed on, because I knew it would be easier to do on the saw horses than on the stringers. Matt screwed them in, I touched up the white stain to cover the screw holes, and we were in business. Keep in mind, the photo below is how the steps looked last year. They really deteriorated in the last year, so they were even worse than the following picture, if you can imagine it. Of course, I can’t find a recent picture right now, so imagine these steps with a bit more sag…

…and the final project!

Slowly, the front porch is coming together. Now, we just have to figure out what we’re doing with the bottom pieces that attach to the side of the stairs. We may replace them, and we may live with them (at which point they need a coat of paint). You can’t tell in the picture above, but they’re in need of some sort of attention.
For my sanity, let’s see where we stand on the front porch overhaul.
- Tear down and rebuild front porch steps
- Cut and add stair backs
- Paint stair backs
- Figure out what to do with the step railings
- Scrape down/sand porch ceiling
- Replace porch ceiling material
- Paint porch ceiling
- Buy/install new front porch light
- Paint/Restore front porch floor
- Paint/Restore the tops of the front porch steps
- Investigate new front door/storm door options
- Replace red bricks at base of steps
- Window boxes? (This is a half bullet because it’s mostly a fantasy - Matt thinks I have way too many flowers on the porch already. Pfft.)
3 out of 12.5 bullets crossed off ain’t bad, right? I’m glad to say the step portion of this ongoing project is complete.
I had the paint on hand, and Matt already owns all of the tools we used, so the total cost for this step overhaul was right around $200. That price includes deck screws, (pricey!) pressure-treated lumber for the stringers and steps, pine step backs and all of the hardware. We’re really pleased with how they came out and I love not having to fear for my life when I exit my home. It’s the little things.
Now, back to making some progress in the kitchen. Happy Wednesday!