We replaced our front steps.
It was necessary.
3 reasons you know it’s necessary to replace your front steps:
- They bend severely when a 30 lb. toddler lays foot on them.
- You don’t order anything online for fear that UPS will sue you because of a courier injury.
- You spend 3 weeks stepping over the reeeaaallly droopy step in the middle for fear of it breaking. This makes hauling groceries especially frightening.
So on Memorial Day, we tackled this long-discussed project. Matt googled a few options to see what might work with our existing framework. After he printed out a few options, we headed out to Home Depot to get our supplies. On our supply list:
- Weathershield Lumber
- Decking Screws
- Joist Hangers
- Steel Tie Plates
- Hanging Nails
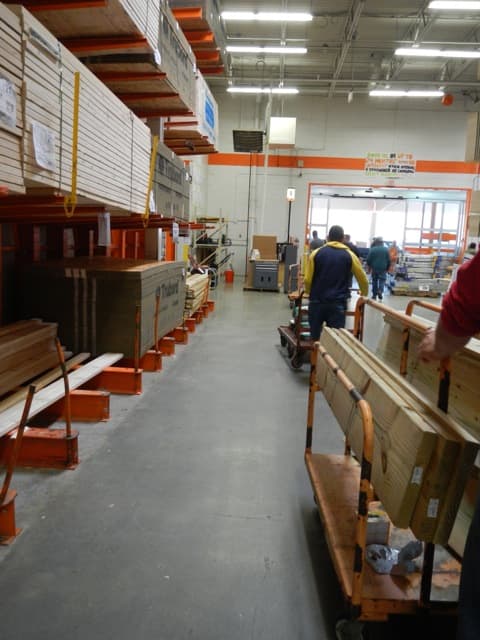
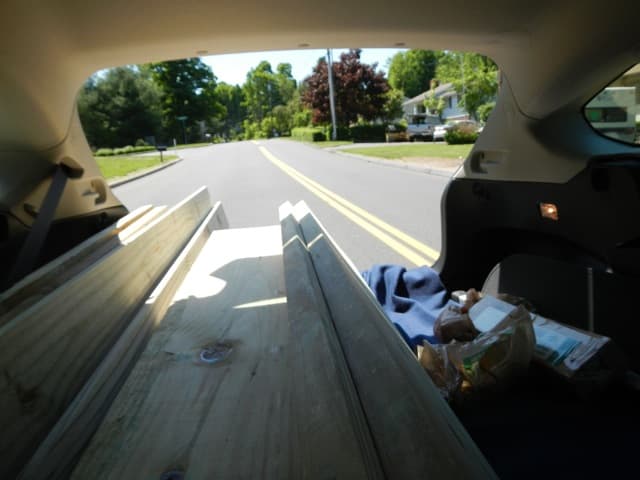
$200 later, we were on our way back home with the hatch hanging wide open. Matt was worried about it. Me? Not so much.
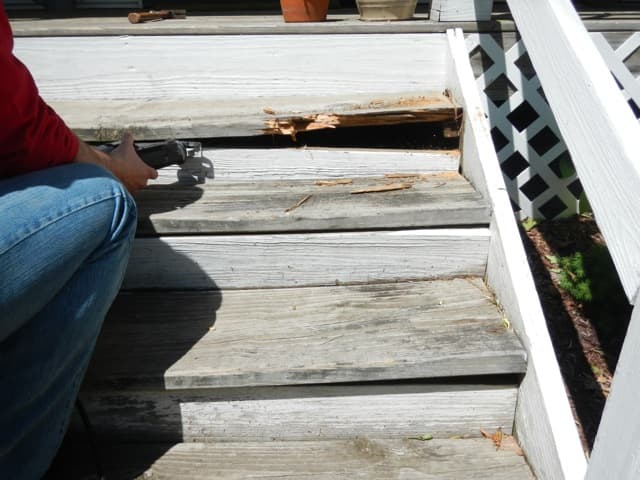
I don’t have a great before shot (Matt loves starting right in before I have time to grab my camera. Ugh.) so let’s jump right in on the demo. Matt used his Sawzall to start in on the “seams.” Can you tell from the picture below that we were in dire need for some strong young steps?
After he had most of the nails cut, it was time to break out the sledge hammer. I tried to get a couple of good action shots of wood splitting, but I wasn’t that successful. It was a pretty neat demo job, which is always a good thing.
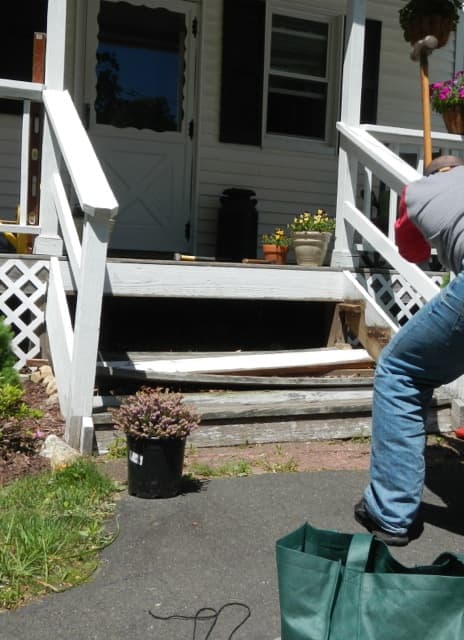
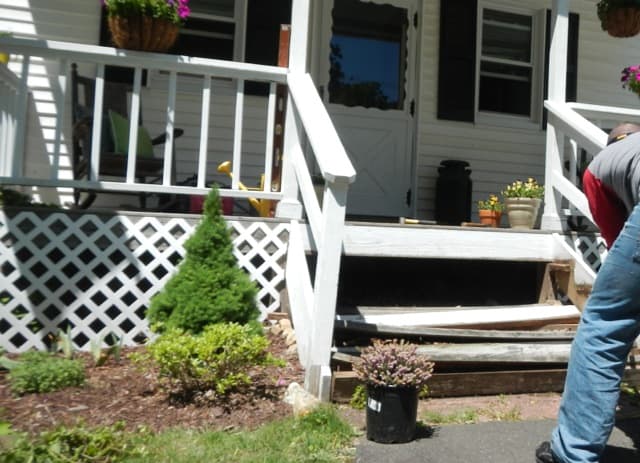
After a few swings, Matt had those bad boys broken down.
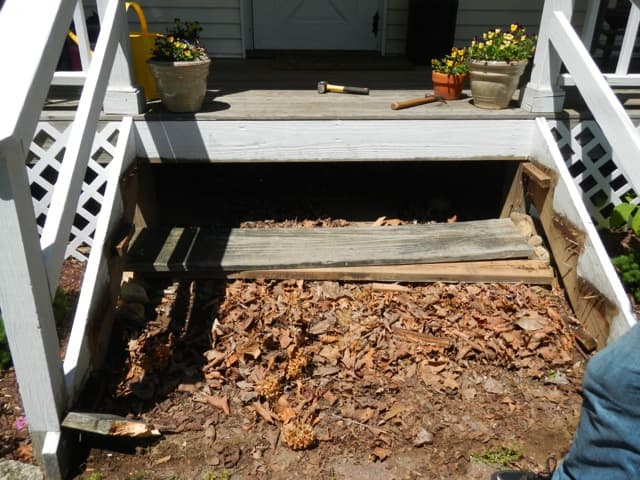
We cleaned up the area, which made the nails that much more visible.
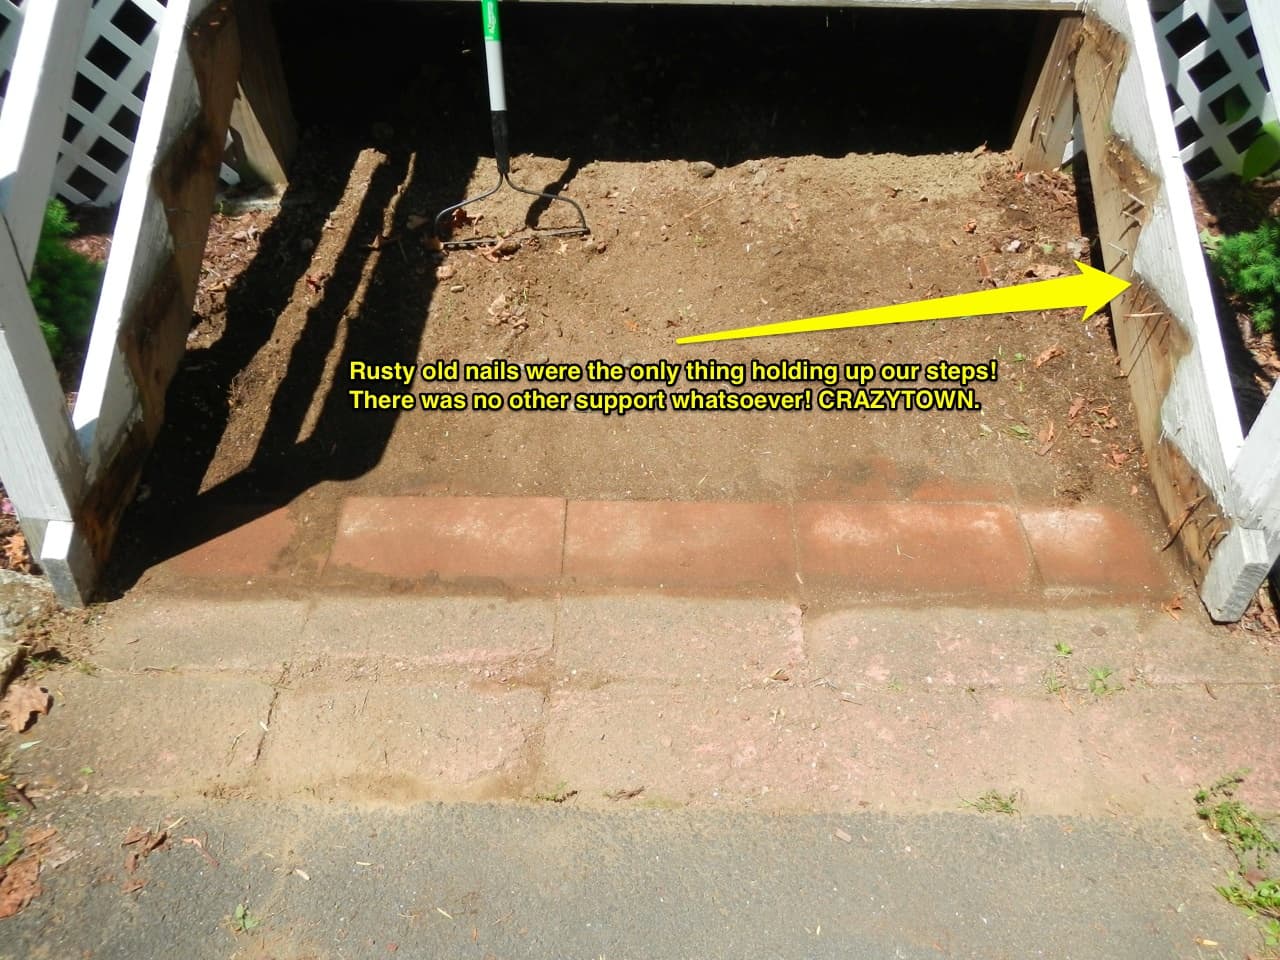
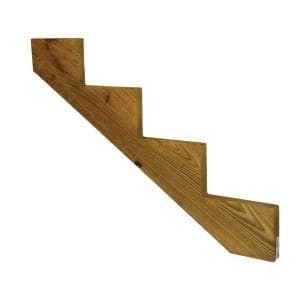
Then, Matt cut and hung a board that would be the support for the top of our stringers. For those not fluent in stair talk, this is a stringer:
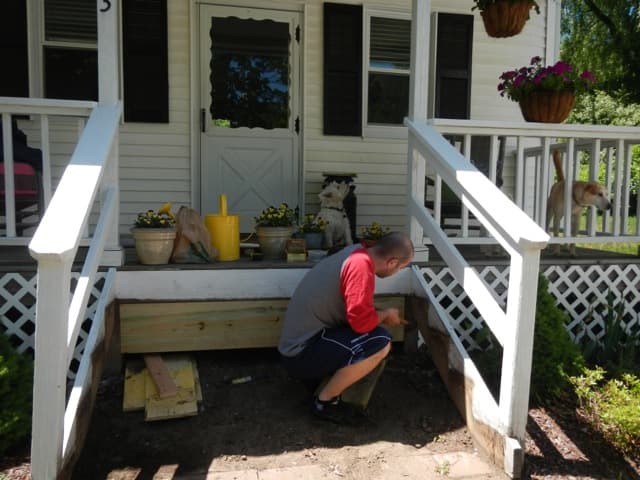
You can see Griff in the picture below. He’s off to the right, on the porch. You also might spot two westies in the pictures to come. They belong to my MIL, who popped by to check on our progress. The three dogs stayed on the porch the whole time, keeping watch and eventually napping in the gorgeous Memorial Day weather we had.
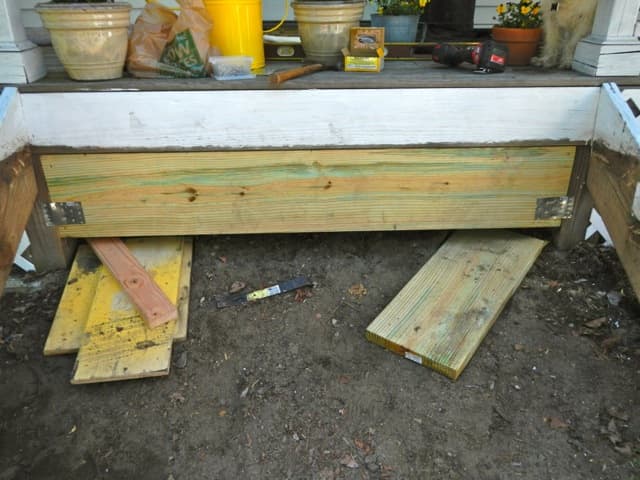
The support was set in place, and then secured again using nailed-in galvanized steel tie plates, as seen below.
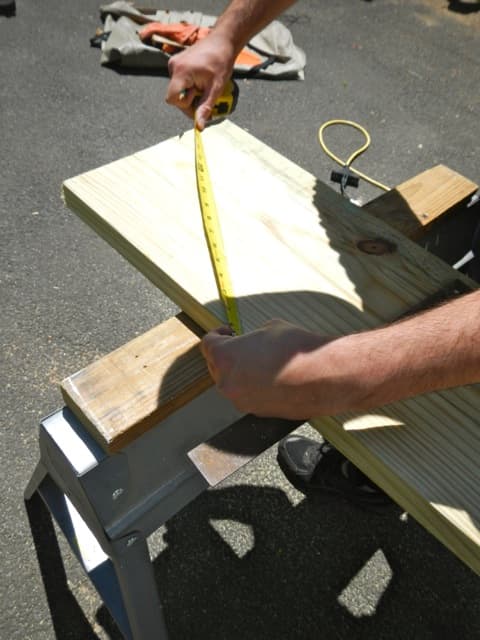
You can buy the stringers pre-cut, but we needed a specific rise and run to work with our existing porch, so Matt custom cut ours after we checked and re-checked the math and measurements. Lumber isn’t cheap enough to make a mistake.
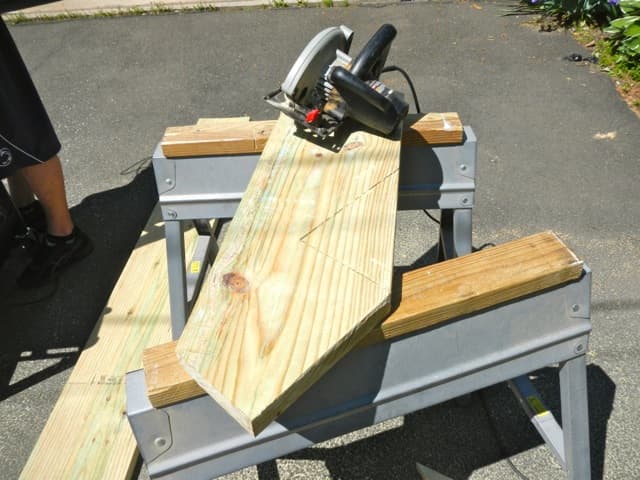
After the stringers were cut, (from a 16ft 2x12) we laid them into place to see how our math was.
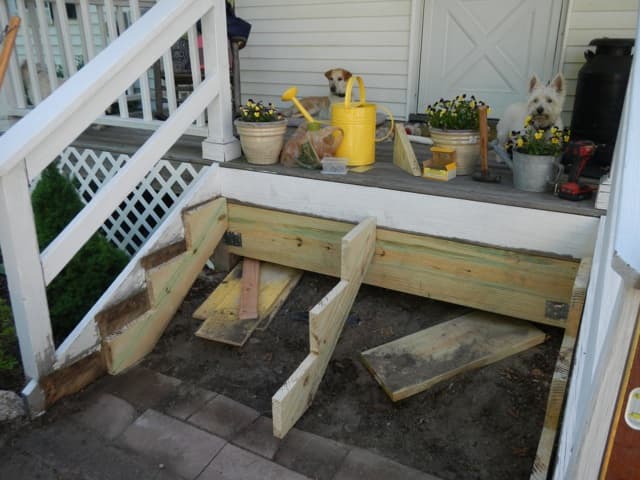
We were thrilled with the 3 solid supports. Especially since the steps we inherited with the house were held up by only nails. People are careless. Or lazy. Or cheap. Or all of the above.
We used a level to make sure they were at the right height, and ended up having to adjust the patio pavers a little bit.
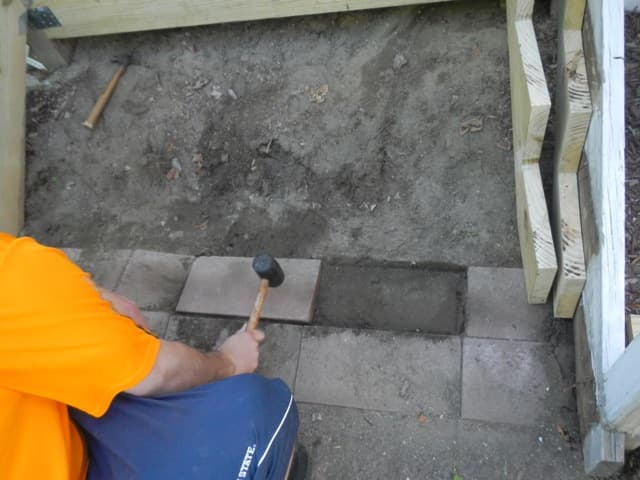
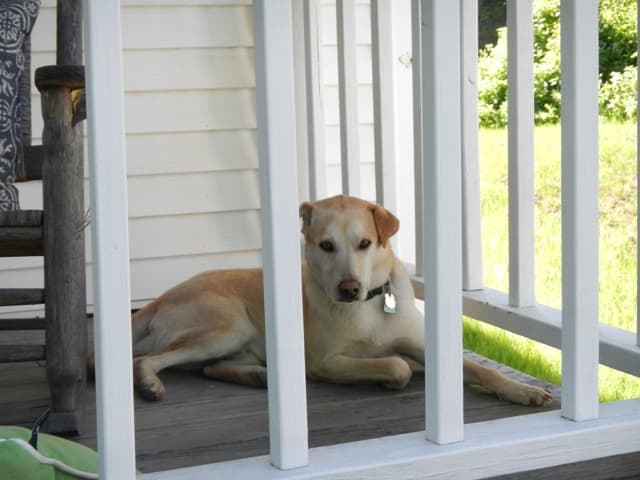
We’d dig a little soil out, hammer the paver back in using a rubber mallet, and try the level again. Griff didn’t care so much about the stairs being level. He was in his own world.
Once we were satisfied with the stringers being level, we added the top boards (cut out of the same wood as the stringers) to check they were level once again.
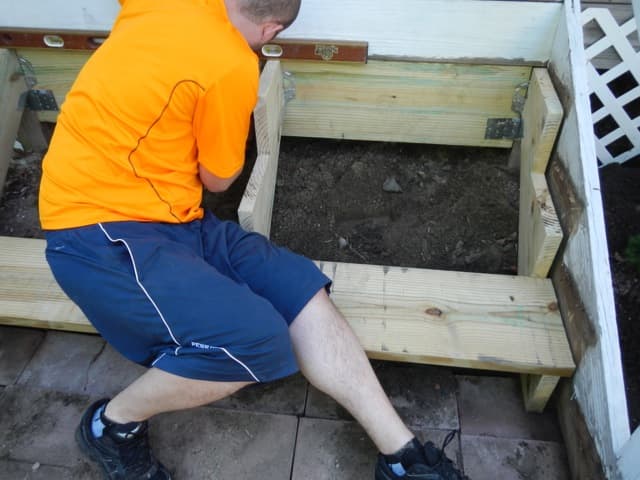
I asked Matt for a smile halfway through, but I think he was too sweaty and sore, because this is the “smile” I got.

Pfft. You’re the one who has to live with your pictures all over the internet, dear! Muahaha.
After final cutting adjustments were made, and we were nearing the end of the first part of this step build, the driveway was looking a bit disheveled.
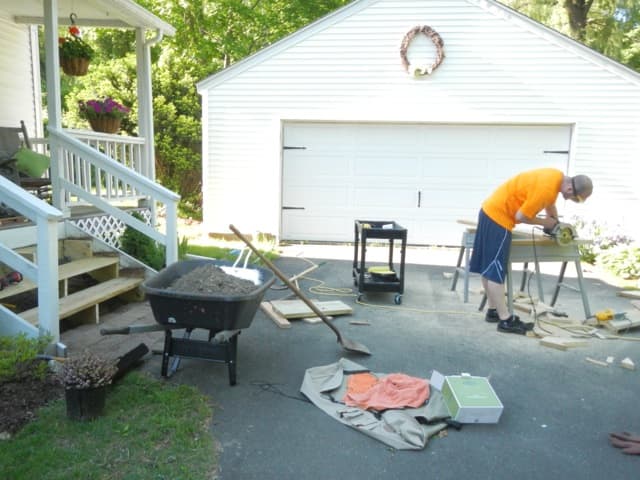
With the boards cut to perfection and the steps level, we took them off to screw the stringers into the joist hangers, which attach the stringer to the support board. The steps themselves went back on, were screwed in, and we were left with sturdy steps that left me beaming.
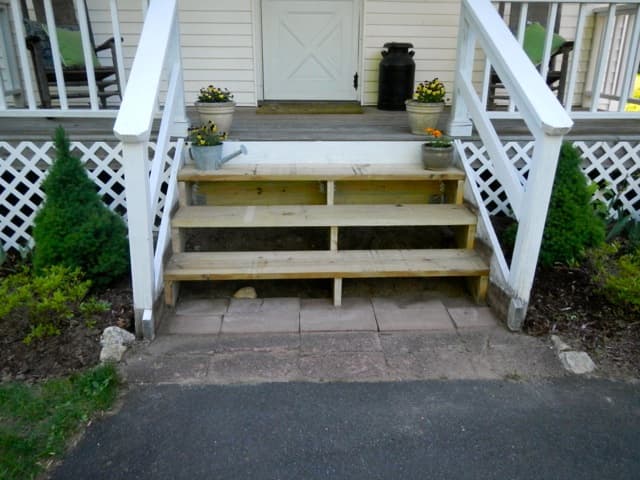
Of course, Matt had to jump on them a few times to show his handiwork would stand the test of time. I’ll tell ya, they’re not going anywhere for a long time to come. We eventually ran out of steam, and decided to save the backs to the stairs for another day. I’ll finish those up (they need to be cut to size and painted white) this week and come back with the final product towards the end of the week. I think some time in the rocker is just what Matt deserved after all of his hard work, don’t you?
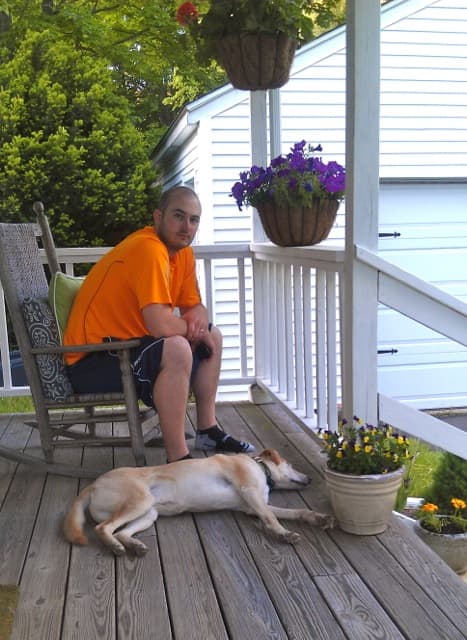
I’m so happy to have married someone so handy, to open my eyes to the world of stringers and freshening up my 9th grade geometry lessons along the way. :)
What did you get done this weekend? Anything productive?
Thanks for stopping in!