Smack dab in the middle of my to-do list (that turned out to be a fail) for late Fall sat a little nugget about DIYing some art for the guest room. So yes, on my to-do list was to make my own art. Crazy? Maybe. I’m really trying to put my own little touches on things as opposed to going to a store and buying something I like. We know I do enough of that.
I came across this piece of art through Pinterest (item and image source here) and fell in love with it.
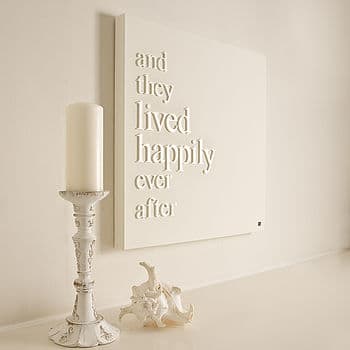
It was so simple - all one color, yet textured and pretty. I didn’t love the price tag. $338. I’m sorry, what!? It looks like I could make it. And so my idea was born. I went to Michael’s on the hunt for a canvas and some lowercase wooden letters to affix to the canvas. Then I planned to paint the whole thing one color to create a unified look with the textured words popping out as the focal point. Well, that plan failed when I couldn’t find any lowercase letters. Anywhere. Even online! (If you know where to find lowercase wooden letters, fill me in the comments section at the end of the post. I’ll forever be in your debt.) I wasn’t in love with the idea of CAPITAL letters for a quote in a guest bedroom - I didn’t want it to seem like it was shouting at our guests.
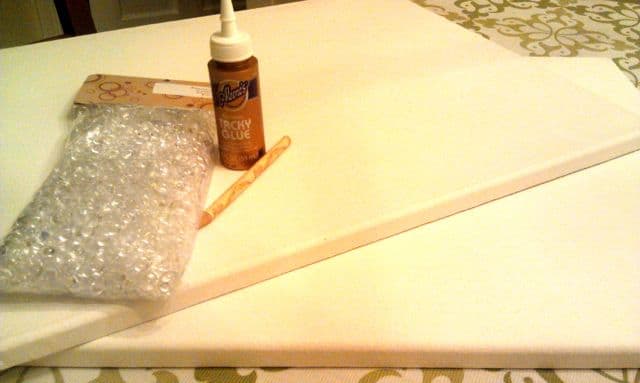
While perusing the aisles at Michael’s, (I literally walked down every aisle - some twice) I came across acrylic discs, which look like little bedazzling tools. I thought that they might create a cool texture when glued onto the canvas. Sold.
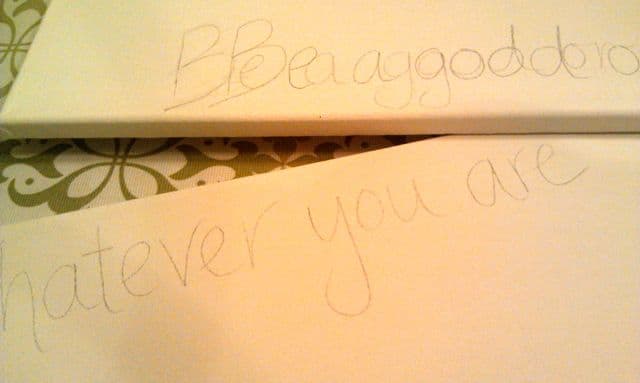
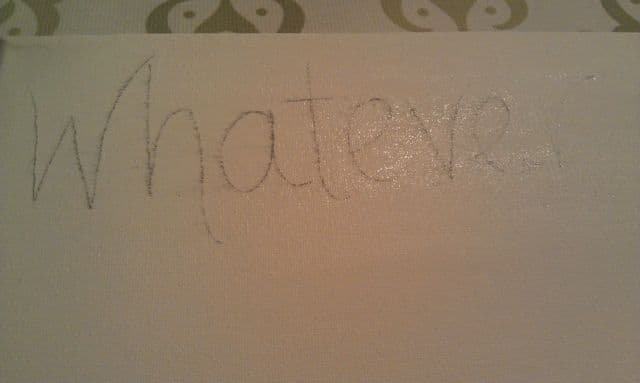
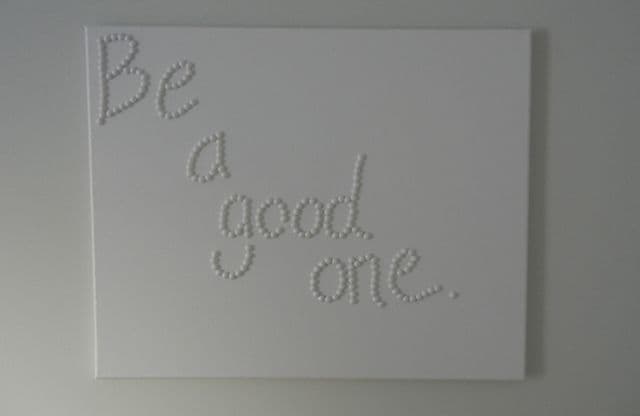
I freehanded the letters of a favorite quote of mine by Abraham Lincoln: “Whatever you are, be a good one.” You know Lincoln is very trendy this year, right? ;) I remember hearing this quote in middle school and stumbled upon it on the internet in recent years and it’s been stuck in my head ever since.
The canvas will be painted as a whole, so the overlapping pencil from handwriting mistakes won’t actually show.
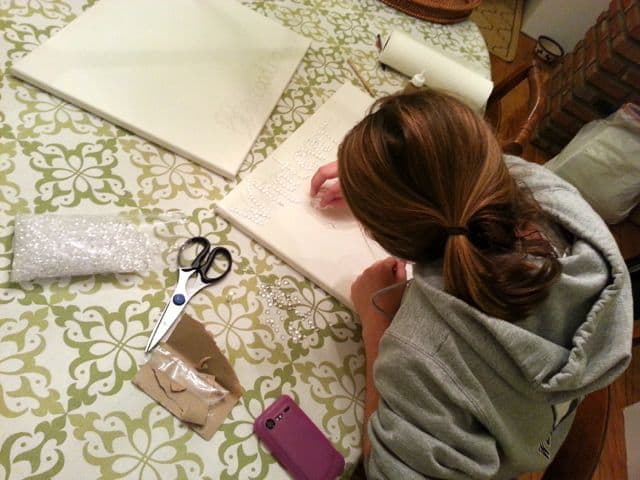
I traced the letters I had drawn with Tacky Glue as the base for the “acrylic discs” which I will refer to as jewels from here on out.
Let the jewel bedazzling begin.
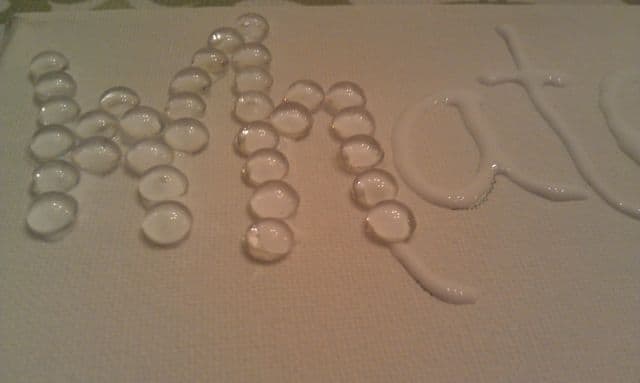
Did you notice what I did as I started in on the ‘H?” Um, yeah. The letters were waaaayyy too close together.
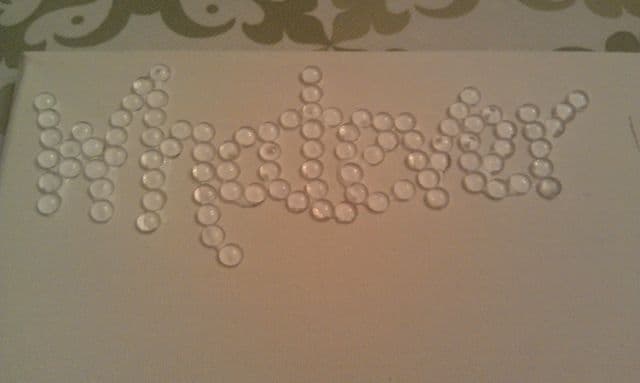
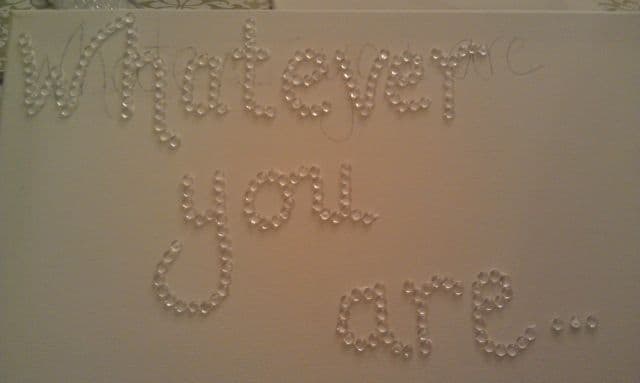
Ooops. Matt walked in at this point and gently told me what I already knew: he had no idea what it was supposed to say. My response: “Whatever.” Get it? The board actually said “whatever.” But I knew I had to start over. You live and you learn, right? I wiped off the letters and I had a clean slate. Kind of.
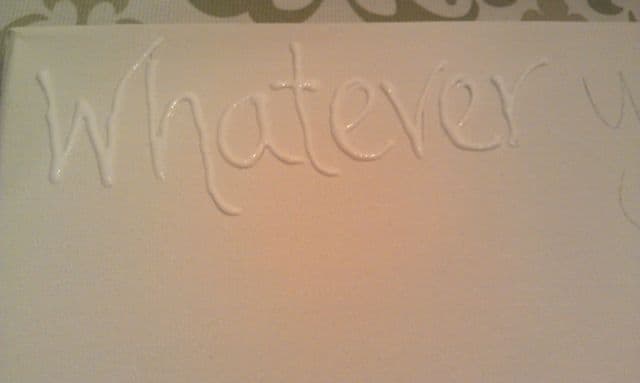
Tacky glue take #2. That should do the trick.
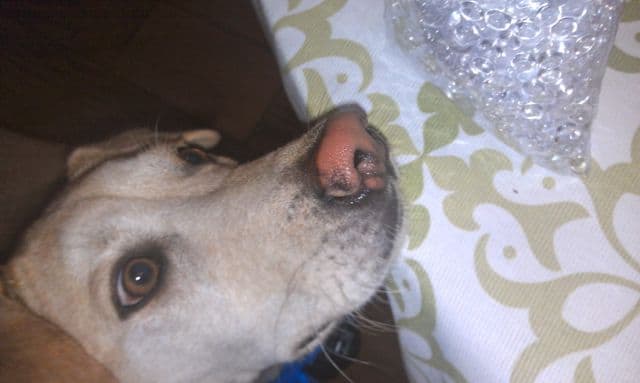
Griff was oh-so-interested in the jewels.
Matt snuck up behind me and took an action shot with his phone.
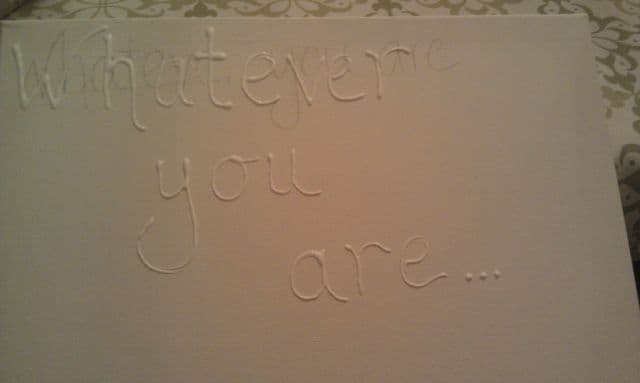
One down, one to go.
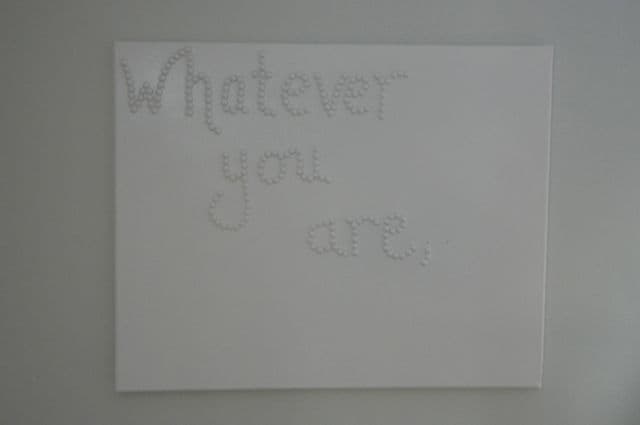
Then it was on to the other canvas and when that was finished, on to the drying stage to wait to be painted. It looks so bling-y. That will change slightly with paint.

I decided on spray paint because it was quick and easy and would find it’s way into the “jewel crevices” nicely. I had a silvery-white-ish-metallic-ish color in mind and settled on a glossy white at Home Depot with a built in primer to cover those pencil marks. I think they came out pretty nicely. The lighting is a bit off, but you get the picture.
They hang on either side of the guest room bed. They fill those two spaces perfectly.
I did it myself, and both pieces of “art” cost under $10 total. Woot! I might add a colored border around the edges to really make them pop from the pale wall. They look a little washed out and dreary - especially with the poor ligting. I’ll keep you posted if I decide on that. Who knows how long I’ll like them, but for now, they’re workin’ for me. How about you? Anything you’re digging on Pinterest lately that you want to try to make on your own?
Once I figure out the curtain situation for this room, it’ll be on full display in all it’s updated glory in a new post. I know you’re on the edge of your seat. Happy Monday! Thanks for stopping by :)
#Art #Crafts #Decorating