Remember back in April, when I painted the trim in the kitchen white and said that new paint for the walls was next on the list? Well, if you don’t remember, that’s what happened. The trim was painted white 7 months ago and it has taken us 7 months to get a color we love on the walls. 7 months, but it’s done. The kitchen is now a color I adore. This girl = beyond excited.
With any painting job, prep is the most important part. And we had a few spots that we wanted to fix up. The walls needed to be spackled in a couple of spots.
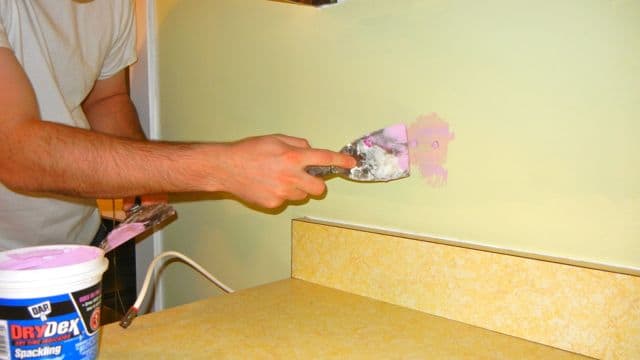
Matt did that part - he used the DAP DryDex (which you can kind of make out in the picture above) and it works great. It covers small spots in drywall well, and it applies pink and dries white, so you know when it’s ready to sand and then paint. We just followed the instructions on the tub.
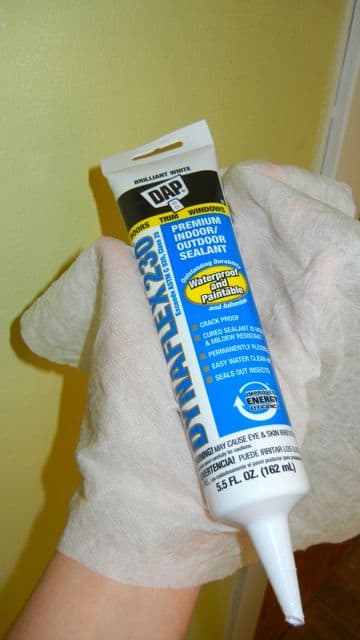
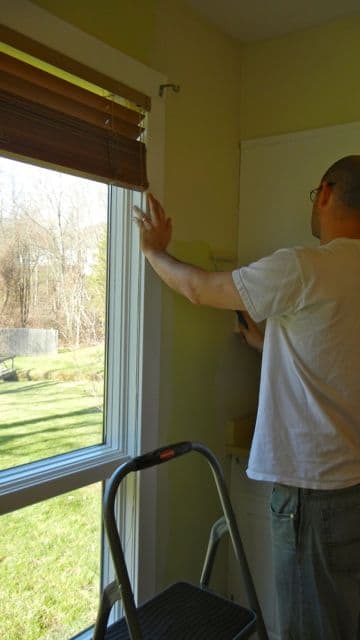
There were a few spaces between the trim and the walls that bothered me. While Matt spackled, I filled the spaces with “Brilliant White” colored sealant. I applied it in a thin line and then dragged my finger down the line of trim to gently press it into the space, wiping off the excess. You can see the space that irked me behind my hand in the photo below.
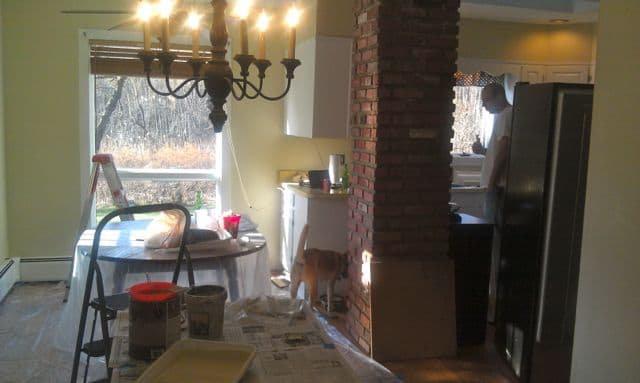
Other than that, we moved mostly everything out of the kitchen and wiped down all of the walls (first with the handheld vacuum to suck up any dust and then a second round with a wet rag to be sure we got everything). Kitchen stuff was everywhere throughout the house. It always gets worse before it gets better, right?
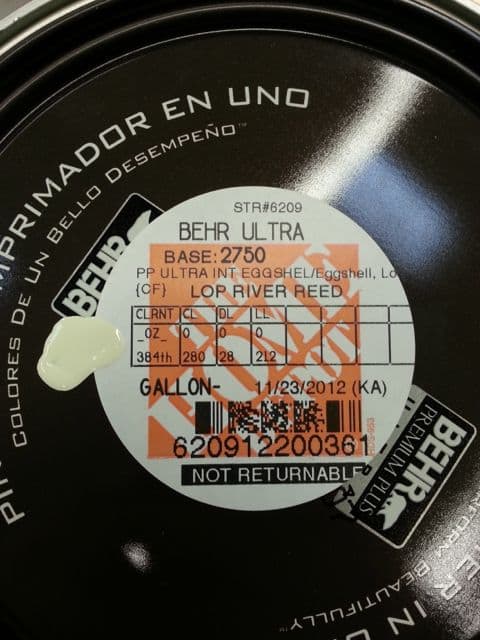
After (7) months of debating color choices, we decided to stick with a color that was in the green family. We really loved our “Margarita” colored walls when we first painted upon move-in, but after a while, it was too much on me in the mornings. It electrified (in a bad way) and it had to go. I chose a more neutral green called River Reed. I actually found the color in the Olympic paint chip section at Lowe’s, but we really like the Behr Premium Plus paints so Home Depot color matched it for us.
Some of the following pictures are taken with my cell, (with paint brush in hand) so try to look past the poor quality of the photos. The picture below is the best picture I have that demonstrates the change from “Margarita” to “River Reed.” If you look closely at Matt’s roller, “River Reed” is on top, and “Margarita” is on the bottom.
Matt’s mom helped us paint the room, but unfortunately, I don’t have any pictures of her working as hard as she did. Thank you again for all of your help!! I do, however, have a picture of Matt trying to make the time fly. Painting isn’t his favorite thing, I guess.
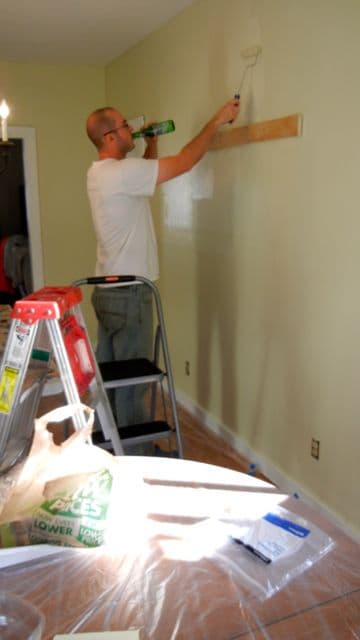
Besides the poor picture quality, the color seen in the picture above reads pretty close to the real color.
Everything was such a mess, but I was literally jumping up and down with excitement.
So to compare, here’s a shot of the sitting area by the back window with “Margarita” on the walls.

Here’s a shot of the new color. The picture is taken at a different time of day than the one above, with was less lighting, but hopefully you can see the difference!

It is a much more neutral color that pleases me to no end. Sometimes, it reads as a khaki/chino color and sometimes, it reads as a light sage with gray tones. I love them both, so couldn’t be happier.
Next up: Changing all of the outlets. There are a TON of them, but we can’t wait to see the transformation!