After a long, relaxing summer where we didn’t tackle any major projects, we knocked one out yesterday. I’ve wanted a learning tower for some time, thinking it will help keep Harrison in the kitchen when I’m cooking, instead of stirring up trouble in the front room where I can’t see him. I didn’t, however, want to shell out $200.
If you haven’t heard of a learning tower, you’re not alone. I hadn’t heard of one until going to a friend’s house (Hi, MO!) and seeing one in her kitchen. Basically, it’s an adjustable step stool on steroids. Here’s the stock image for the “real” Learning Tower on Amazon.
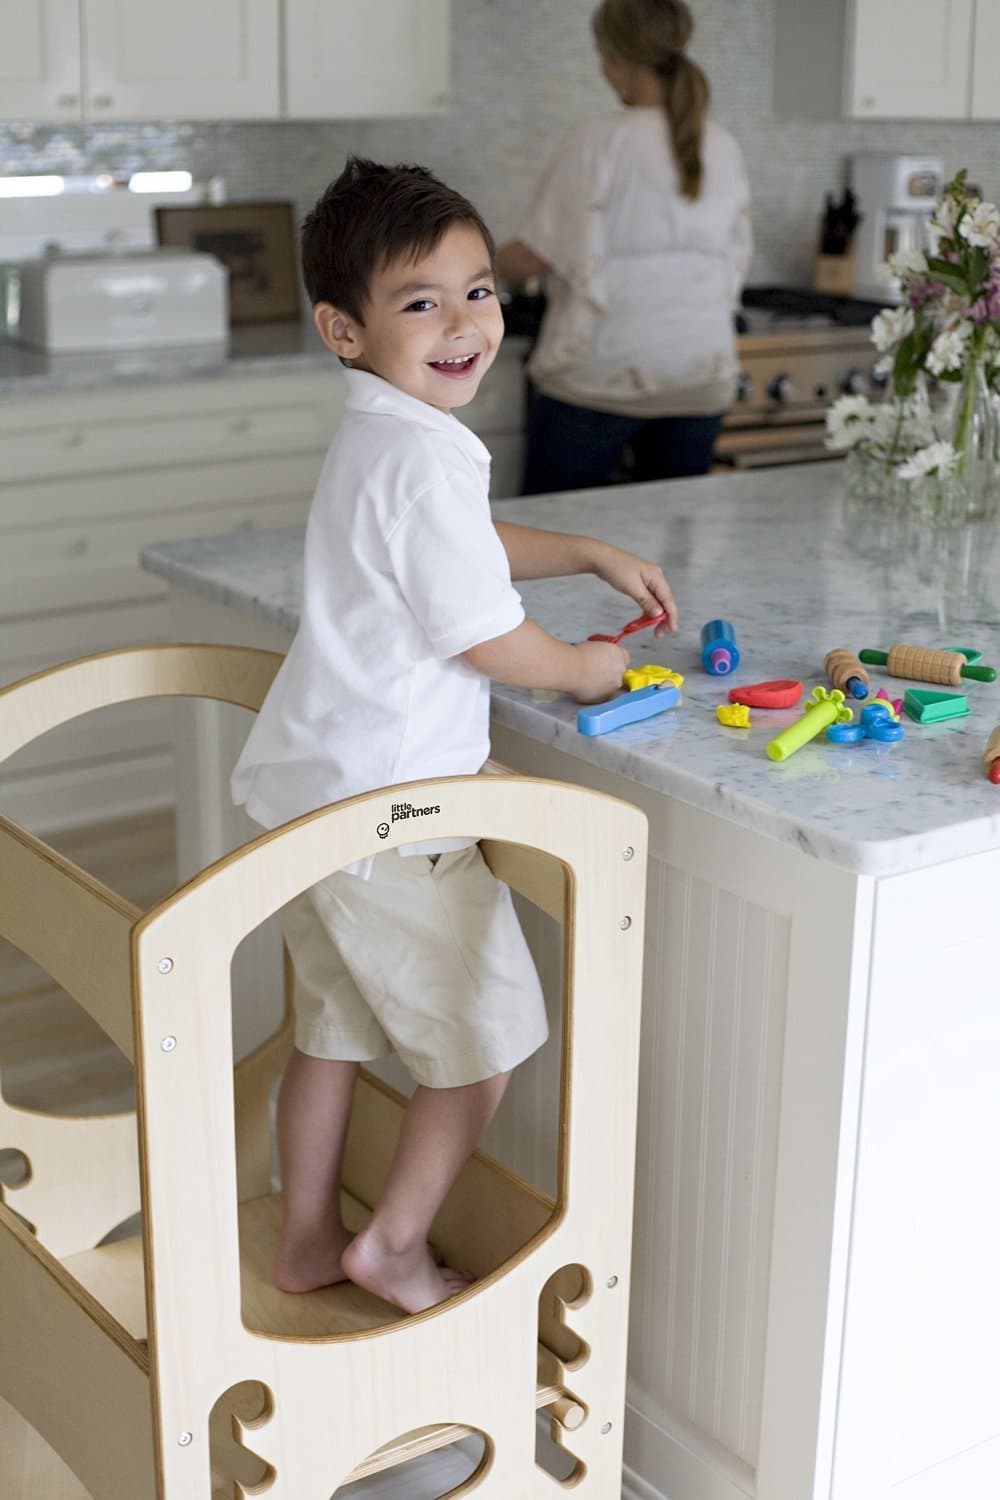
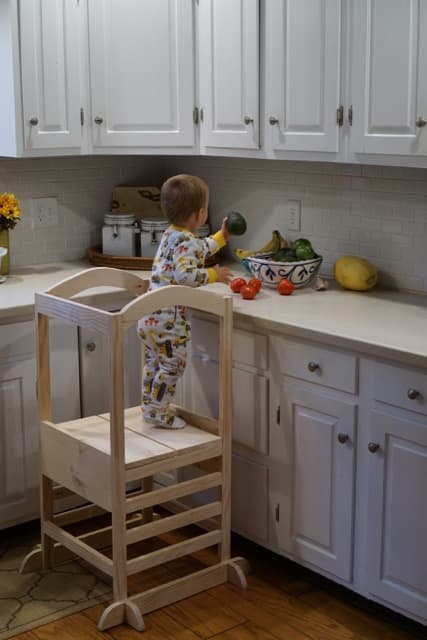
Nope, that’s not my kitchen, my kid nor my learning tower. Stock image, remember? Here’s my kitchen, my kid and our new learning tower that we built in a few hours for about $40.

It was a relatively quick (as quick as can be with a toddler running around) and easy build, thanks to the amazing plans we found on Ana White’s website. If you haven’t heard of her, Ana White is an Alaskan woman that built her house and practically everything in it. Yeah, she’s amazing.
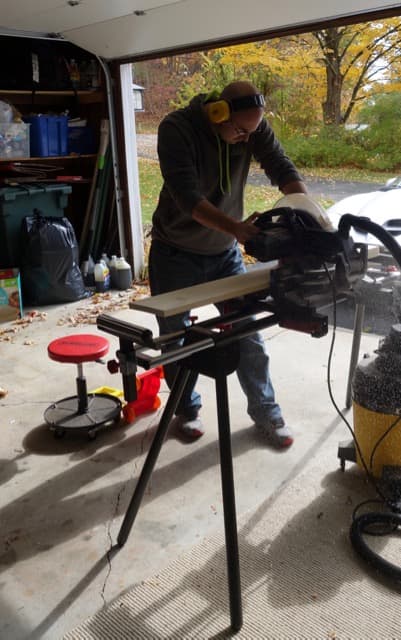
We went to Lowe’s Sunday morning to get a quote for a new front door and while we were there, we picked up the lumber we’d need for the build. When we got it home, Matt was all too excited to set up his new miter saw stand to aid in the cuts. We hooked the Shop-Vac up to the circular saw and while it did a pretty good job of containing the dust, we still have plenty of clean up to do.
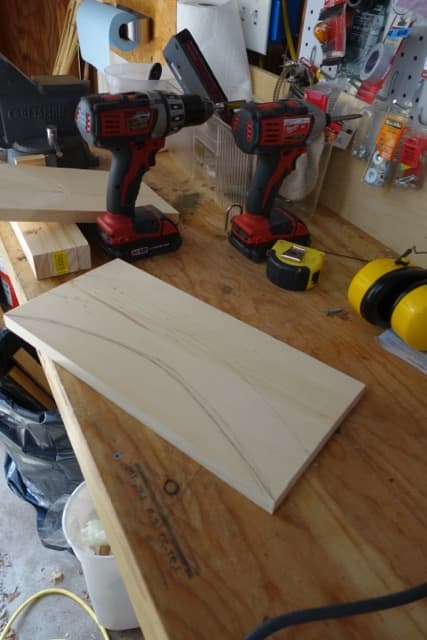
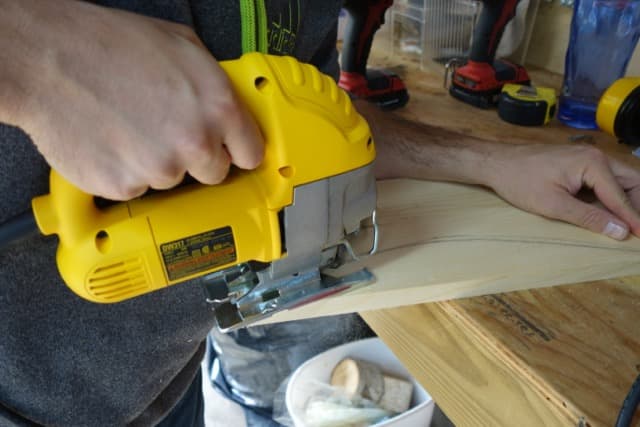
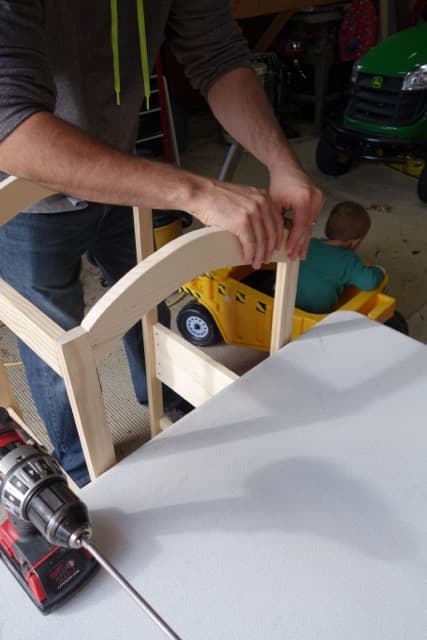
We thought about skipping the arches because of the level of difficulty it added, but ultimately kept them in because they looked nice and they add an extra inch or two of safety on the sides. Matt freehanded the arches in pencil using a few measured guides and used the jigsaw to cut them out.
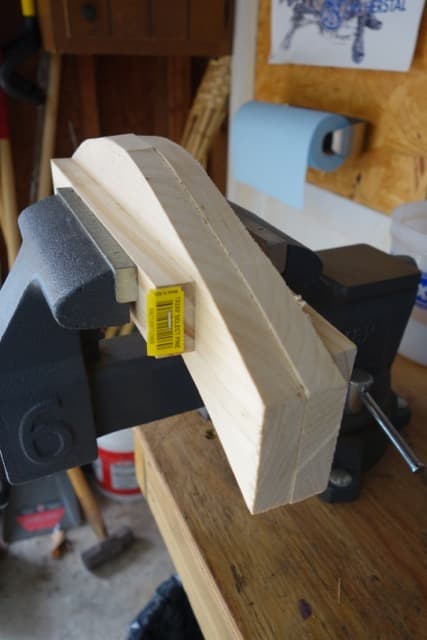
The arches then went in to the bench vice to get a sanding before they’d be screwed in.
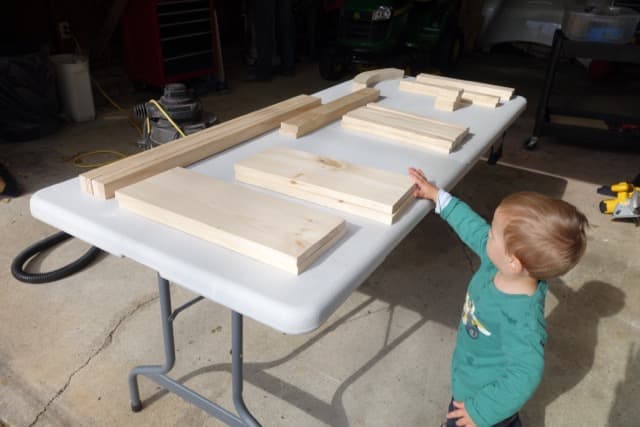
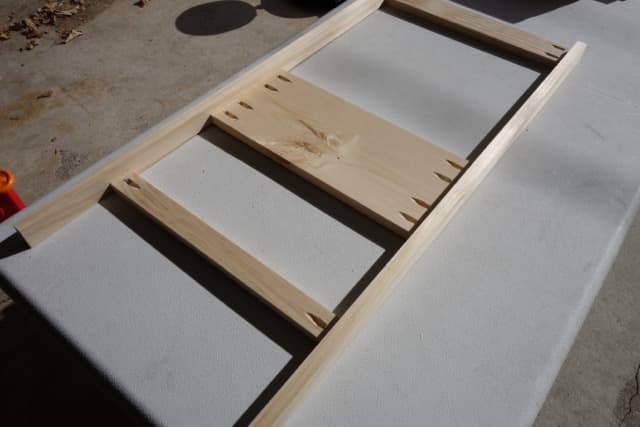
With the arches cut and sanded, we laid out all of the wood for inspection.
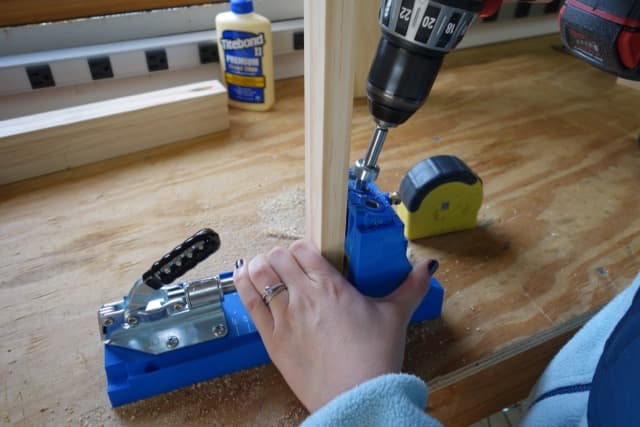
Once the inspector gave us the go ahead, it was assembly time. We used our Kreg jig to drill pocket holes so none of the screws would be visible from the outside of the piece.
Assembly was quick.
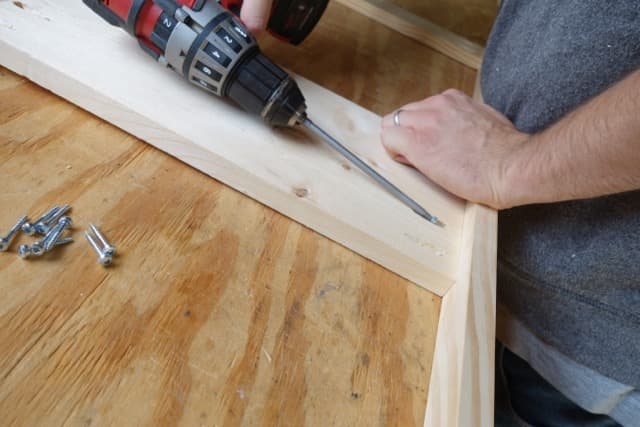
The arches were only held in by one screw so they twisted ever so slightly under pressure. Matt took them out and applied wood glue before screwing them in again and that seemed to help.
We were able to get it completely assembled before Harrison’s curiosity won over.
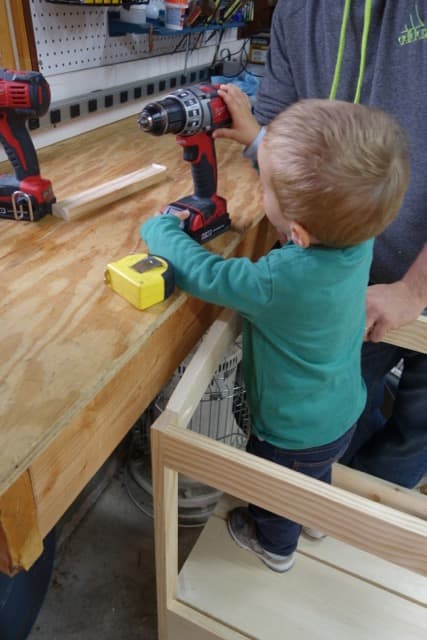
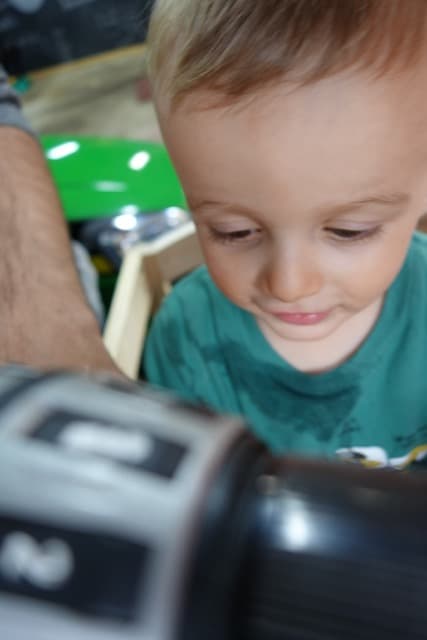
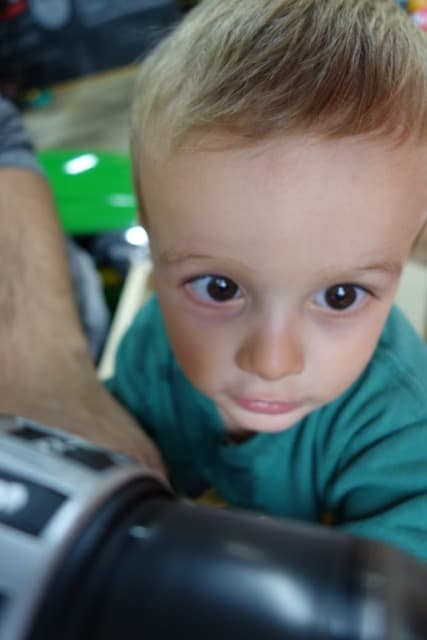
Those giant, curious eyes kill me. I think the tower will predominantly live in the kitchen but when it’s not in there with me, you better believe it’ll be at Matt’s workbench - my boys workin’ side by side.
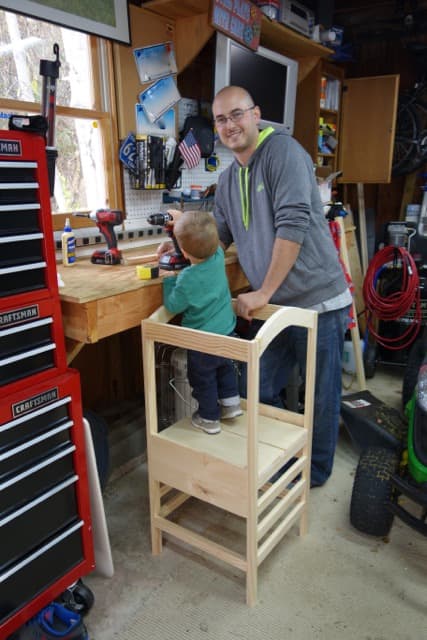
While I put Harrison to bed, Matt gave the whole thing a good sanding so it was ready for Harrison upon waking.
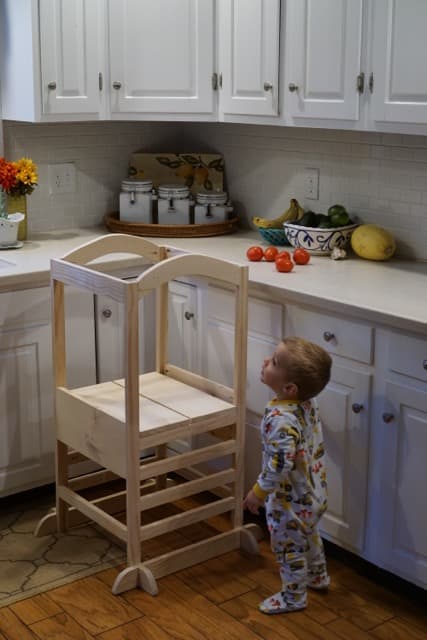
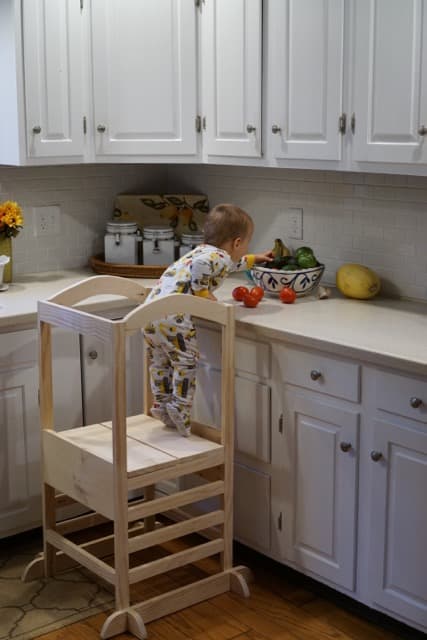
It was a big hit and continues to be a big hit. The platform Harrison’s standing on is adjustable so it can easily be moved to any of the lower rungs… perfect for his ever-lengthening legs and my constant need for help in the kitchen. ;)
It’s unfinished still, but I plan to paint it. I was thinking navy blue. I also thought about chalkboard paint on the sides so there’s a place for Harrison to color, but I’m not crazy about navy blue and chalkboard black side by side. We can’t stain it because we didn’t use premium wood. Oh well, we have some time to think about it. The real challenge will be getting Harrison out of it long enough for me to paint it. I told Matt I want him to take a Sharpie and write a “note” to Harrison under the standing platform, so he’ll have it for when we pass this thing on to his kids one day. If he doesn’t destroy it first, of course.