I know I don’t have the greatest track record when it comes to crafting. I’m no Martha Stewart, and I know that. Believe me. That being said, I have a new project that’s sort of crafty I wanted to share with you guys!
Last month’s issue of Real Simple had a tidbit about creative uses for old things featuring candlesticks. This is a shot from their magazine where they repurposed candlesticks as bud vases.
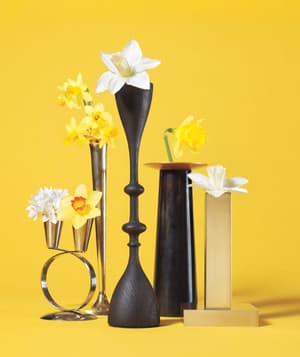
I have a few sets of candlesticks I wasn’t willing to sacrifice for the sake of craft, but I loved the idea of taking a used candlestick and turning it into something cool and useful. I popped over to the Make a Home Foundation in Sandy Hook, CT to search for some goods to get started. If you’re not familiar with MAHF, check out this post where I picked up some awesome items from their retail facility/thrift shop. It’s an amazing place to find anything and everything.
I found a few plates that I absolutely adored, plus some bright red candle sticks - all for $1/ea.
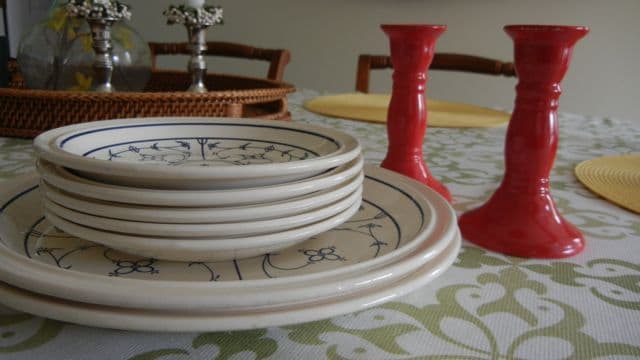
Instead of bud vases, I was inspired by Real Simple’s idea to take a candlestick, turn it upside down and place it between two plates to create a quirky and crafty dessert tray. I like this dessert tray from Pottery Barn, but it’s $129. Meh.
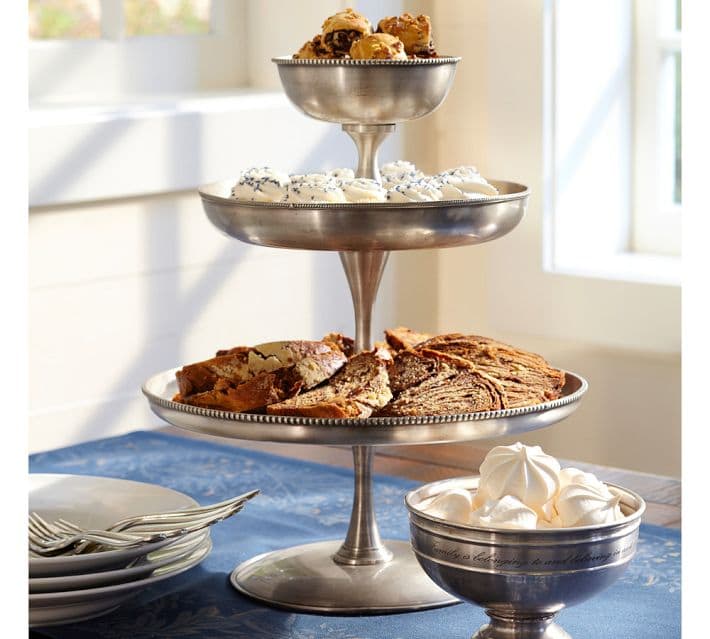
Sure, mine might only have two trays, and some used items, but mine would be a fraction of the cost. $3 was a little easier to swallow than $129, and I was recycling instead of buying new things. Go me. Editor’s Note: I’m really going to try to do more of that this year. I am so used to just buying whatever I see in the store, but I’m going to work hard to ask myself, “Can I have it using things already on this Earth?” first. Call me a hippie, it’s cool.
The plates that I picked had a really cool design that I loved, and the circle in the middle was practically begging to have a candlestick glued to them. The plates had a creamy, ivory-ish white background, so I picked up some Rustoleum 2x spray paint at Home Depot in a nearly identical color for the candlestick to cover up that bright red. It took a bunch of light, even coats. Then, I was ready to glue.
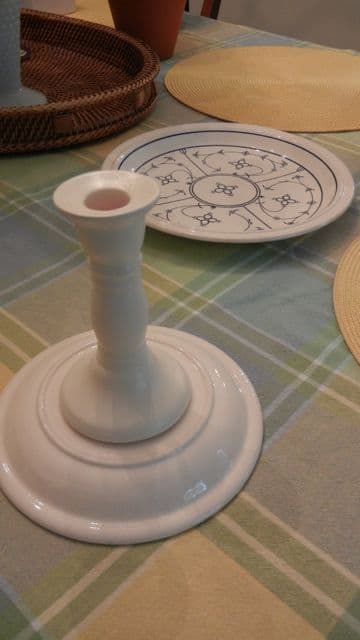
I used a normal crazy glue, because of how I would be using the tray. I envisioned using it for cookies, candies & cupcakes at parties. All of those things would be scooped up quickly, without touching the glue, and I would never have to wash the tray in its entirety. I’d just wipe it down for crumbs and such. If you were using it for heavy use, I’d recommend a food safe glue. The glue set overnight and I think the paint color on the candlestick matches pretty well with the plate!
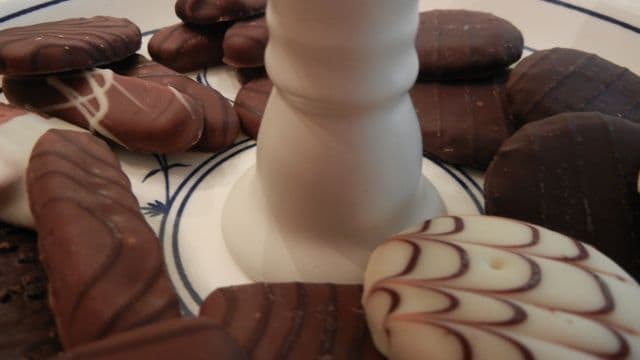
Without further ado, I give you my $3 dessert tray.
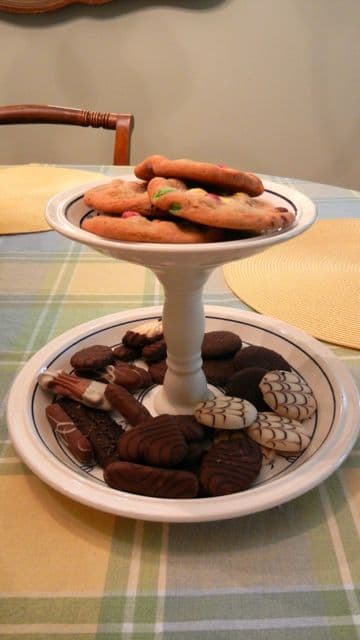
I love it!
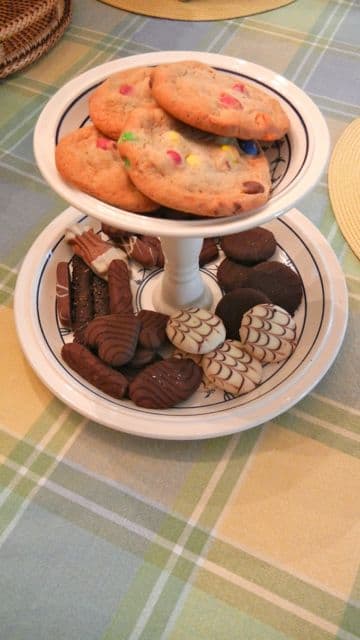
The cookies don’t look half bad, either. It even matches up pretty well from a bird’s eye view.
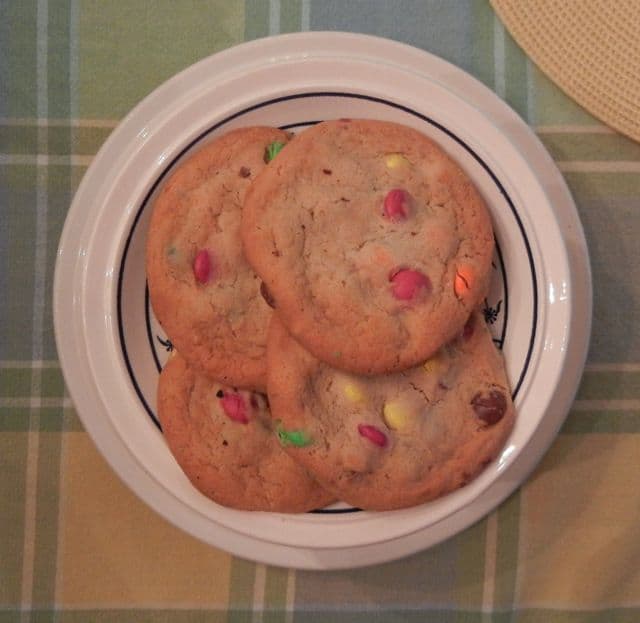
I can’t wait to use it at my next party. Time for those cookies to disappear!
Doing any crafting in your neck of the woods? My next craft project is happening this weekend, wish me luck!