A few weeks ago, I hit up a tag sale in my hometown while I was visiting my family. My dad told me a colleague of his was downsizing, and she decided to hold the tag sale to sell a bunch of her things. I knew I wanted to swing by to check it out, but I didn’t think I’d buy anything, because I didn’t really need anything.
The only thing I was possibly “in need of” was a nightstand. The small guest room has been without one for some time, and I thought that if I saw one with character that would fit in the small space, I’d pop on it. While my mom and I were perusing, I stumbled upon a cute nightstand, and I popped on it.
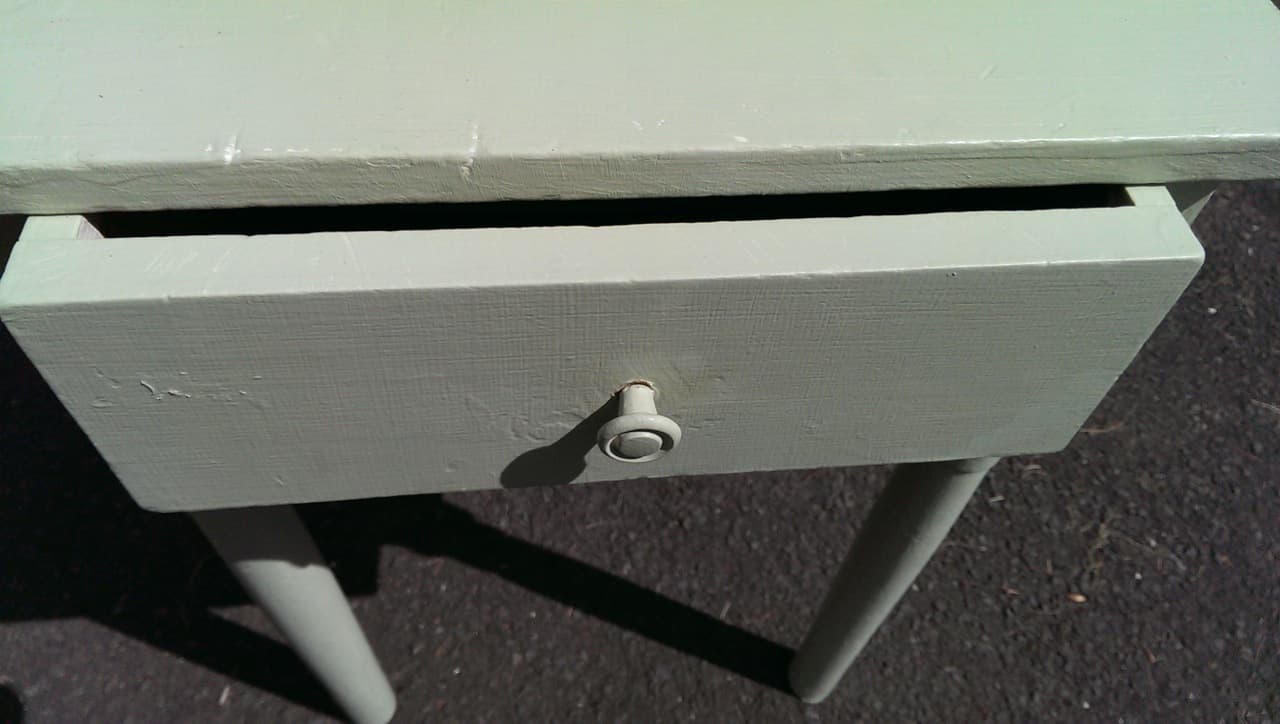
It was covered in so much paint that the drawer was hopelessly stuck. I figured that with a good sanding and some fresh paint, she’d be good as new. It felt solidly built, so the only obstacle would be getting all of the old paint off. The dry paint drips kill me.
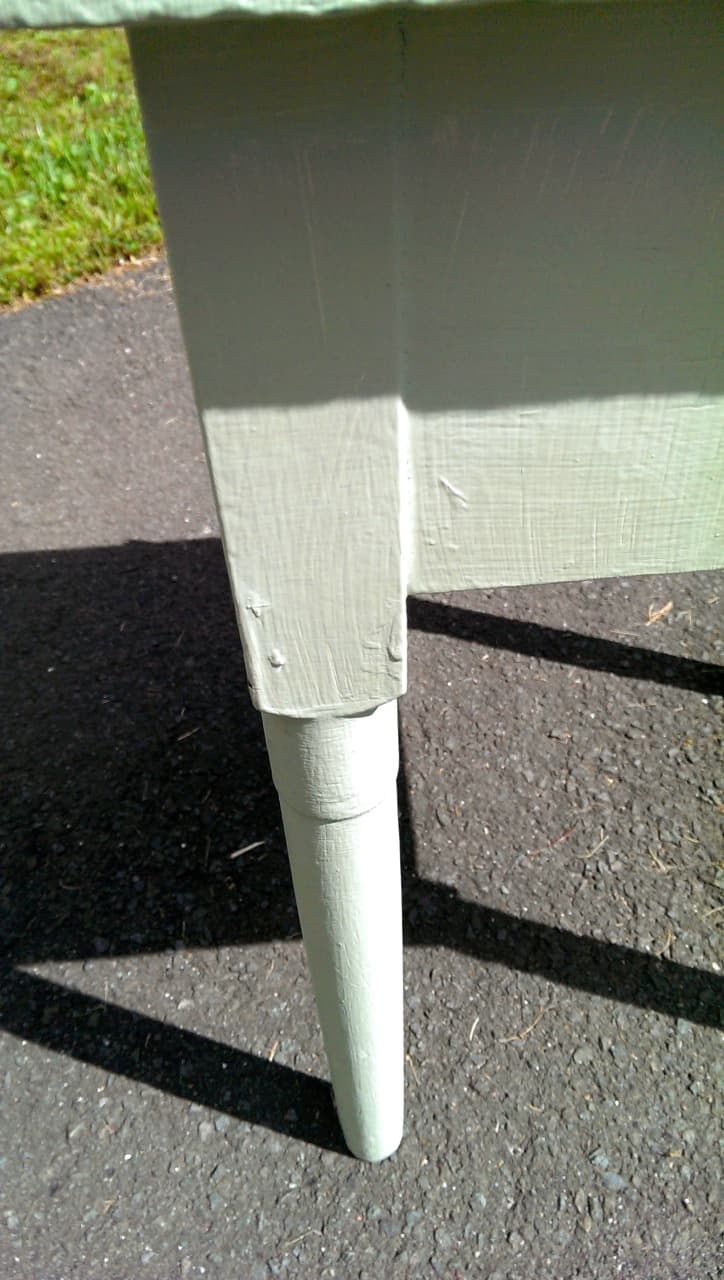
I used a 60-grit sandpaper and our orbital sander to attack the drawer first, followed by the top and the sides, as well as the legs, using caution. (The round legs could be made into square legs if you aren’t careful!) When talking about sandpaper, the lower the grit number, e.g. 60, the courser the sandpaper. A 220-grit (finishing sandpaper) wouldn’t strip off thick paint nearly as well as a 60-grit would.
Before sanding, the nightstand looked like this:
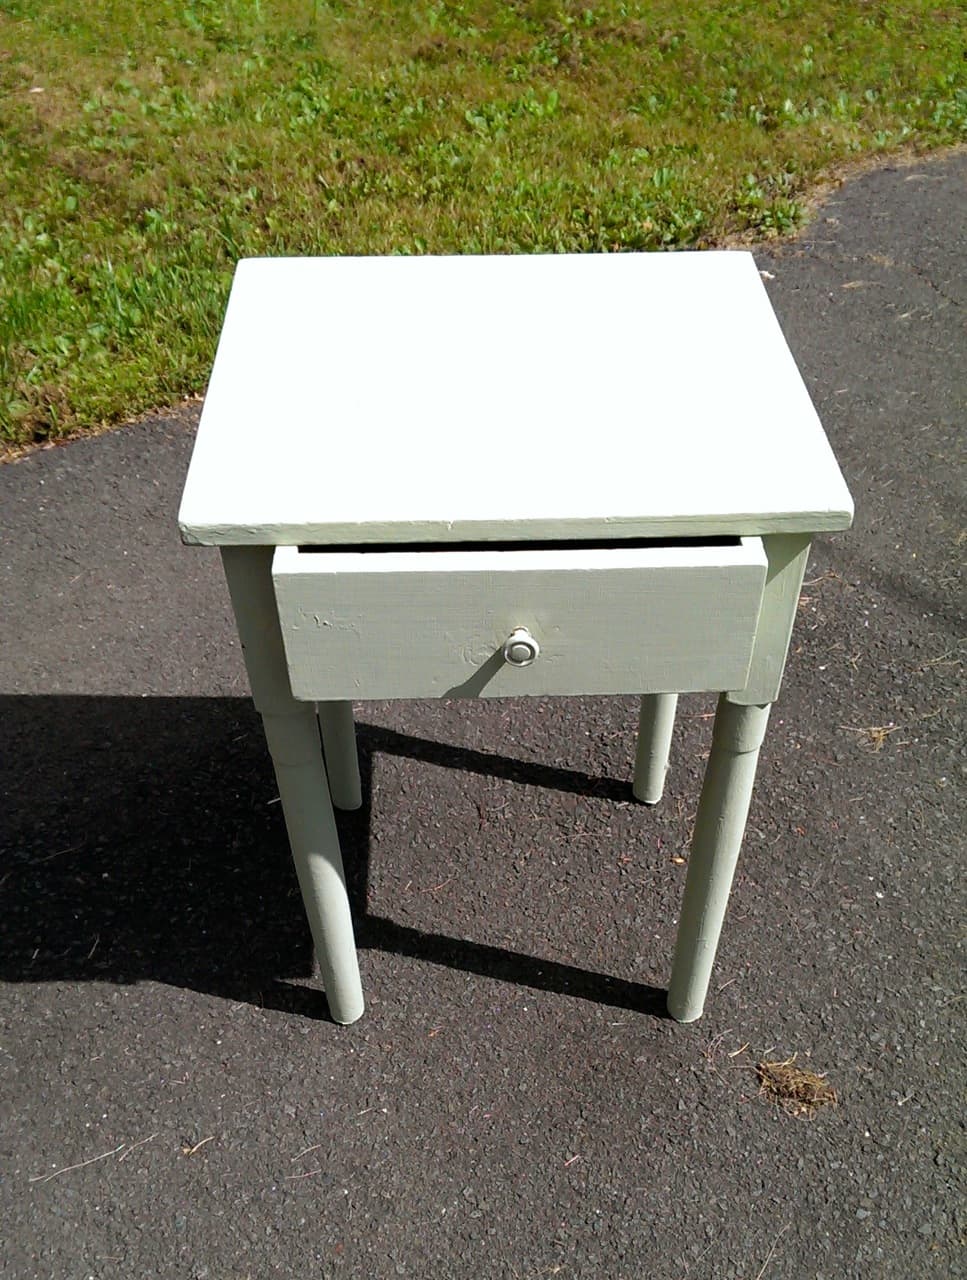
After about 5-10 minutes of sanding, (while always wearing eye, nose and mouth protection!) I had it down to this:
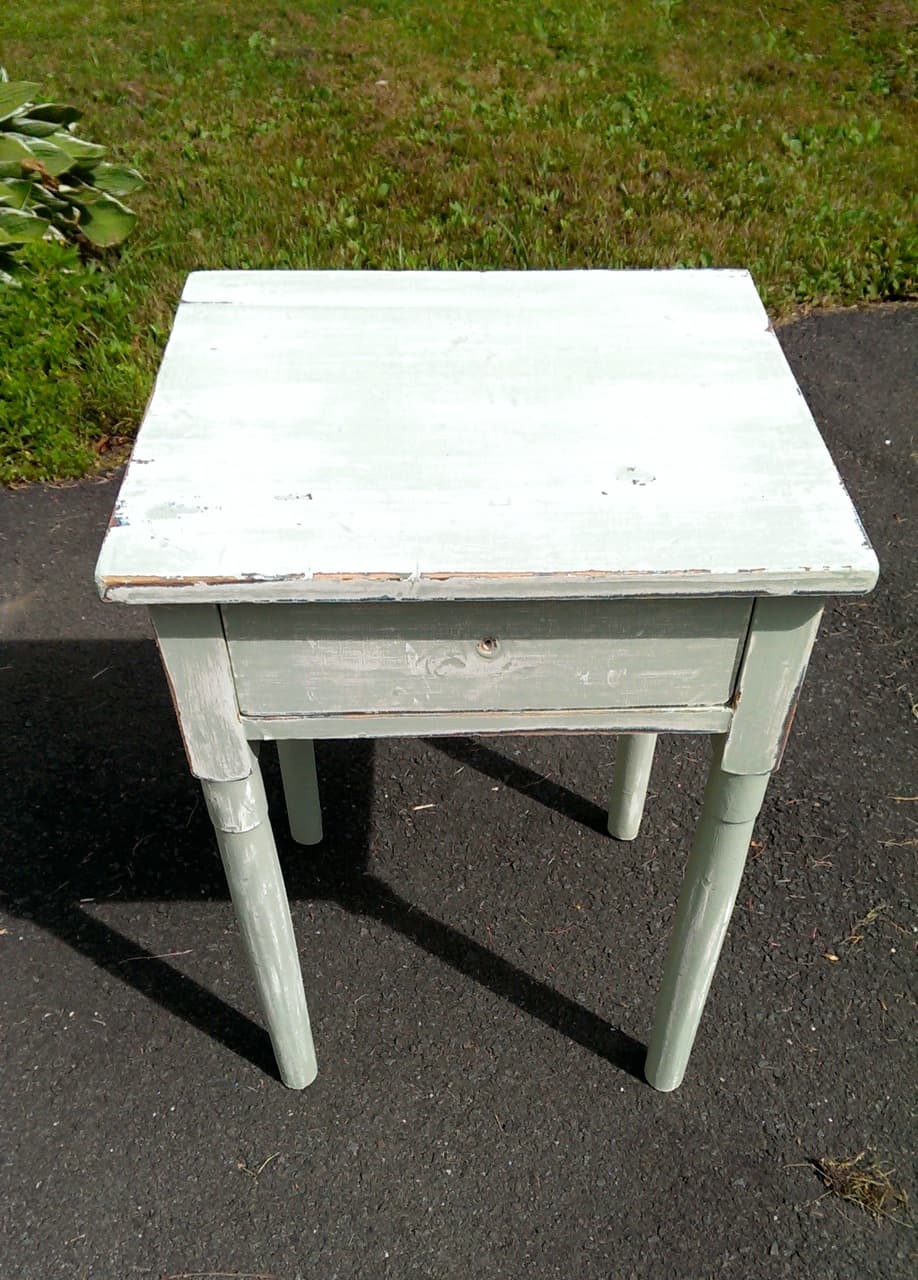
I thought the distressed look was very, very cool, and I spent a while sitting on the front steps, deciding whether I would regret painting this piece.
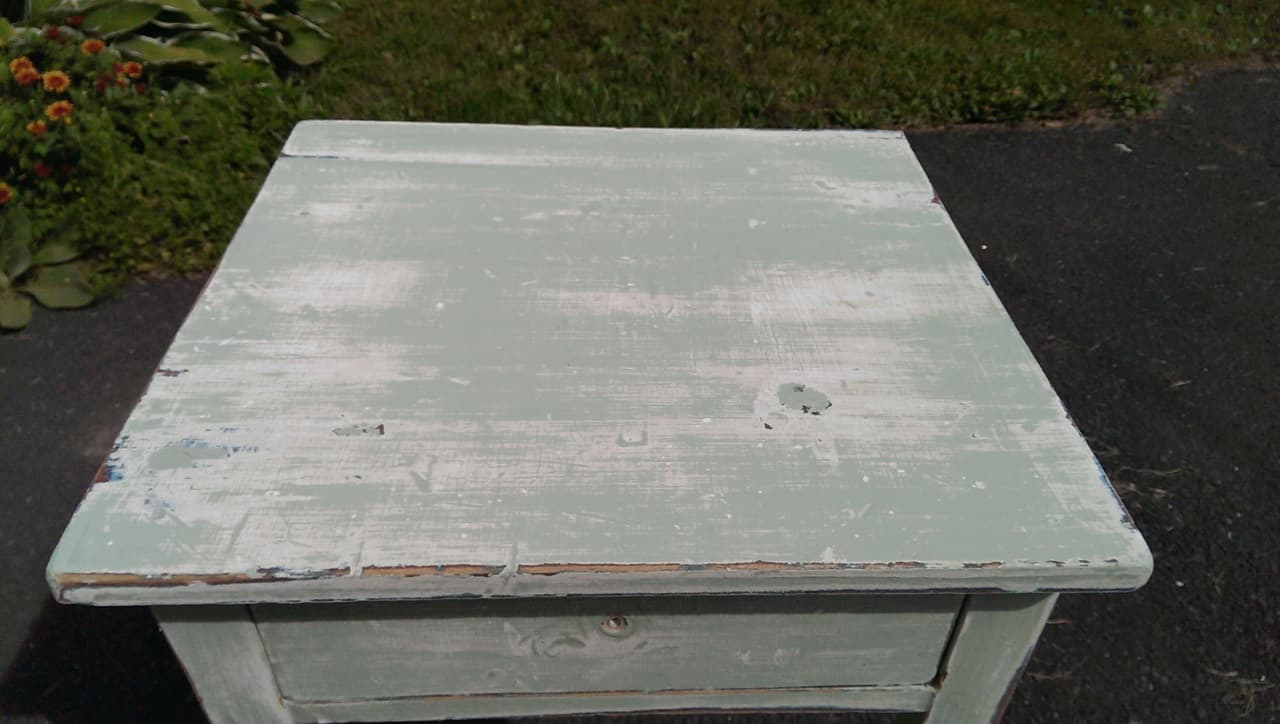
The edges looked especially worn and vintage after sanding.
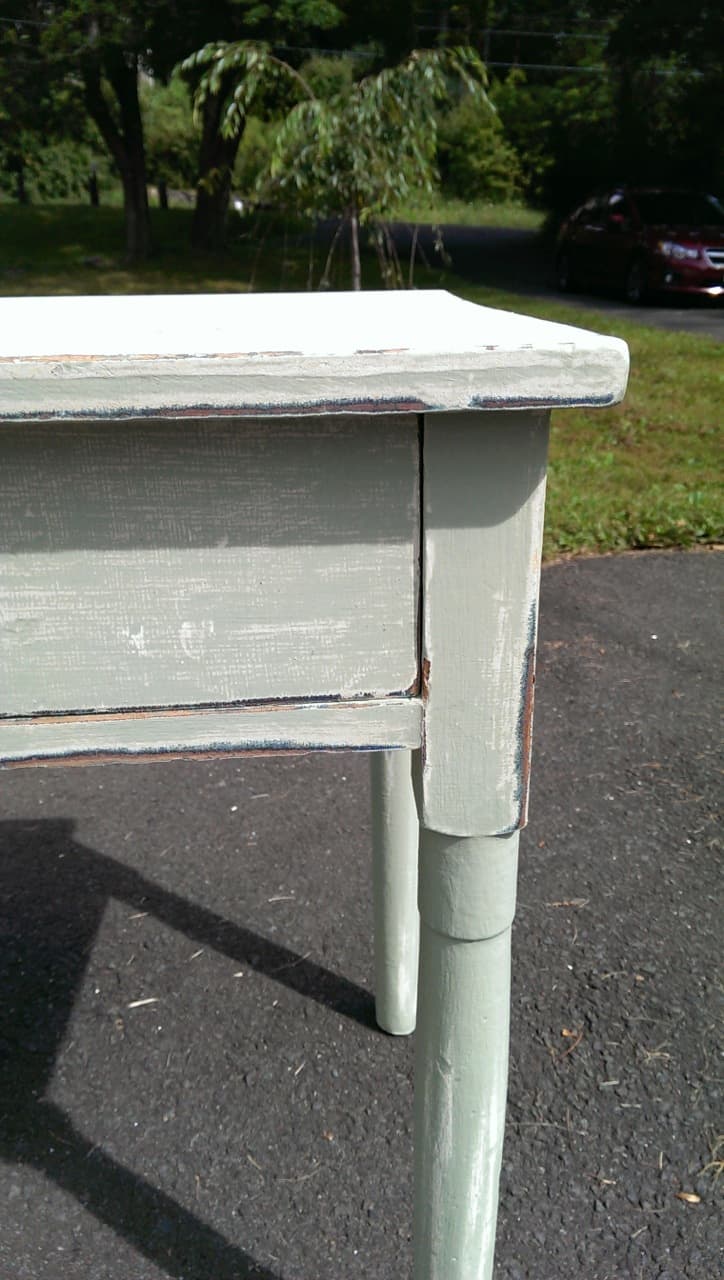
In the end, I decided to paint it, because distressing it down the line if I change my mind shouldn’t prove too hard. Next up was choosing the medium from the ever-growing garage supply of paint and stain choices.
If you couldn’t tell from this post, I am obsessed with Annie Sloan Chalk Paint (ASCP). It’s amaaaaaazing. It’s versatile, the colors are beautiful, and it’s easy to use. It’s a little on the expensive side ($38.95/qt) but a little goes a loooong way. I put two coats on the rocker that’ll sit on the front porch, and barely used an eighth of the can. So when it came to choosing my paint, the choice to use the ASCP was an easy one.
I set the nightstand on a tarp, removed the drawer, and wiped all the parts down with a damp rag.
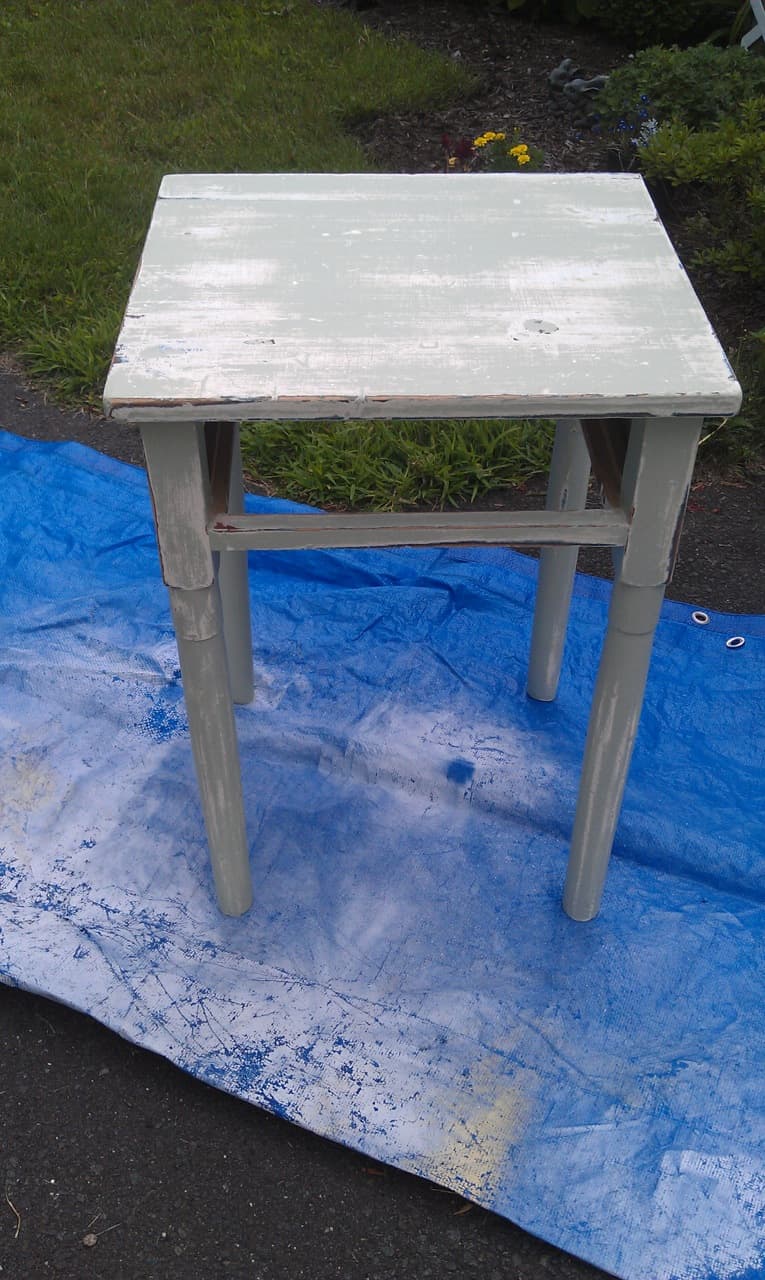
Even though the sanding step isn’t required when using ASCP, I didn’t want to add to the already thick layer of paint on the piece. I also wanted the drawer to be functional, so I opted to sand most of it away, adding a step or two to the normally streamlined process of painting with ASCP.
The Versailles color went on beautifully over what was now a “distressed teal” look after the sanding.
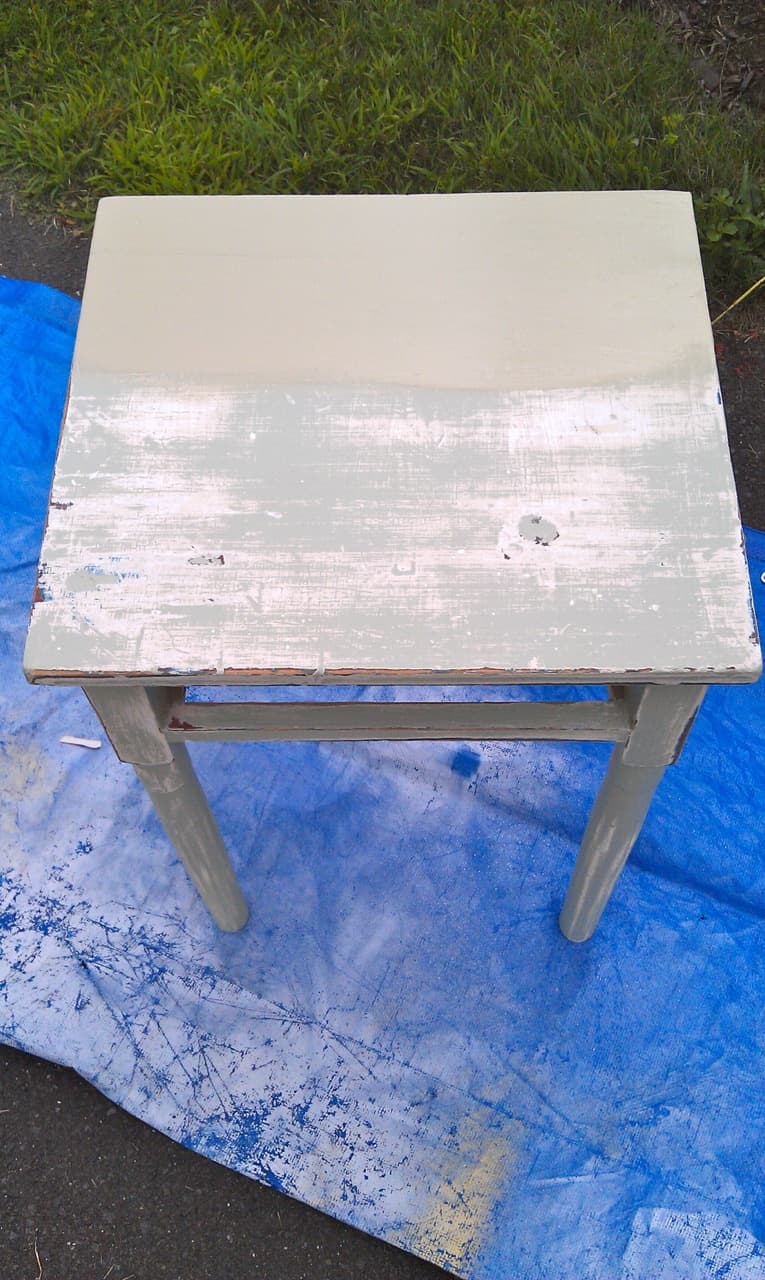
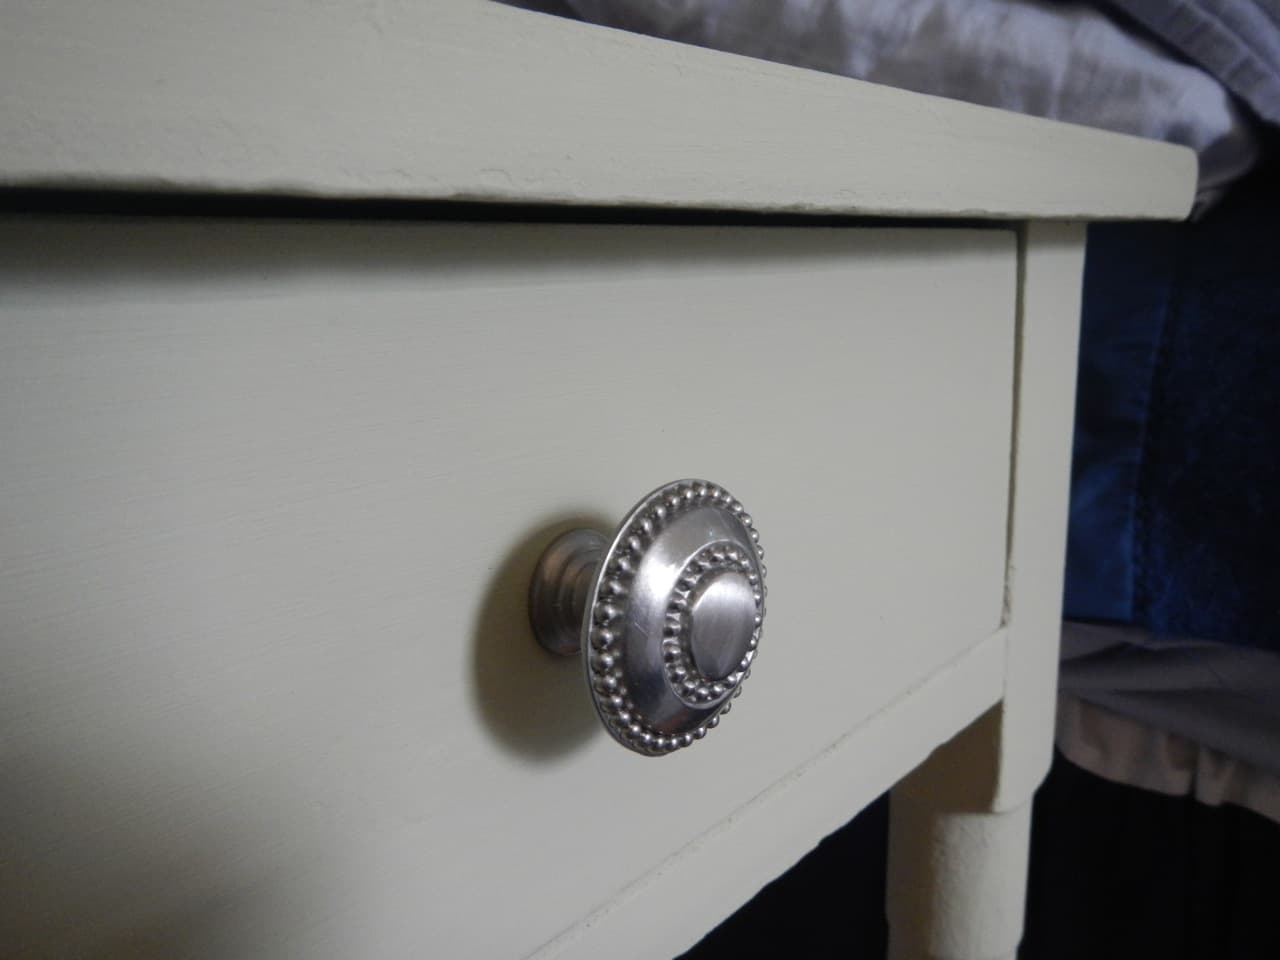
I let the table dry overnight in the garage, and added a $3.57 knob I grabbed from Lowe’s on one of our trips out. The next morning, I screwed on the knob and brought it up to its new resting place.
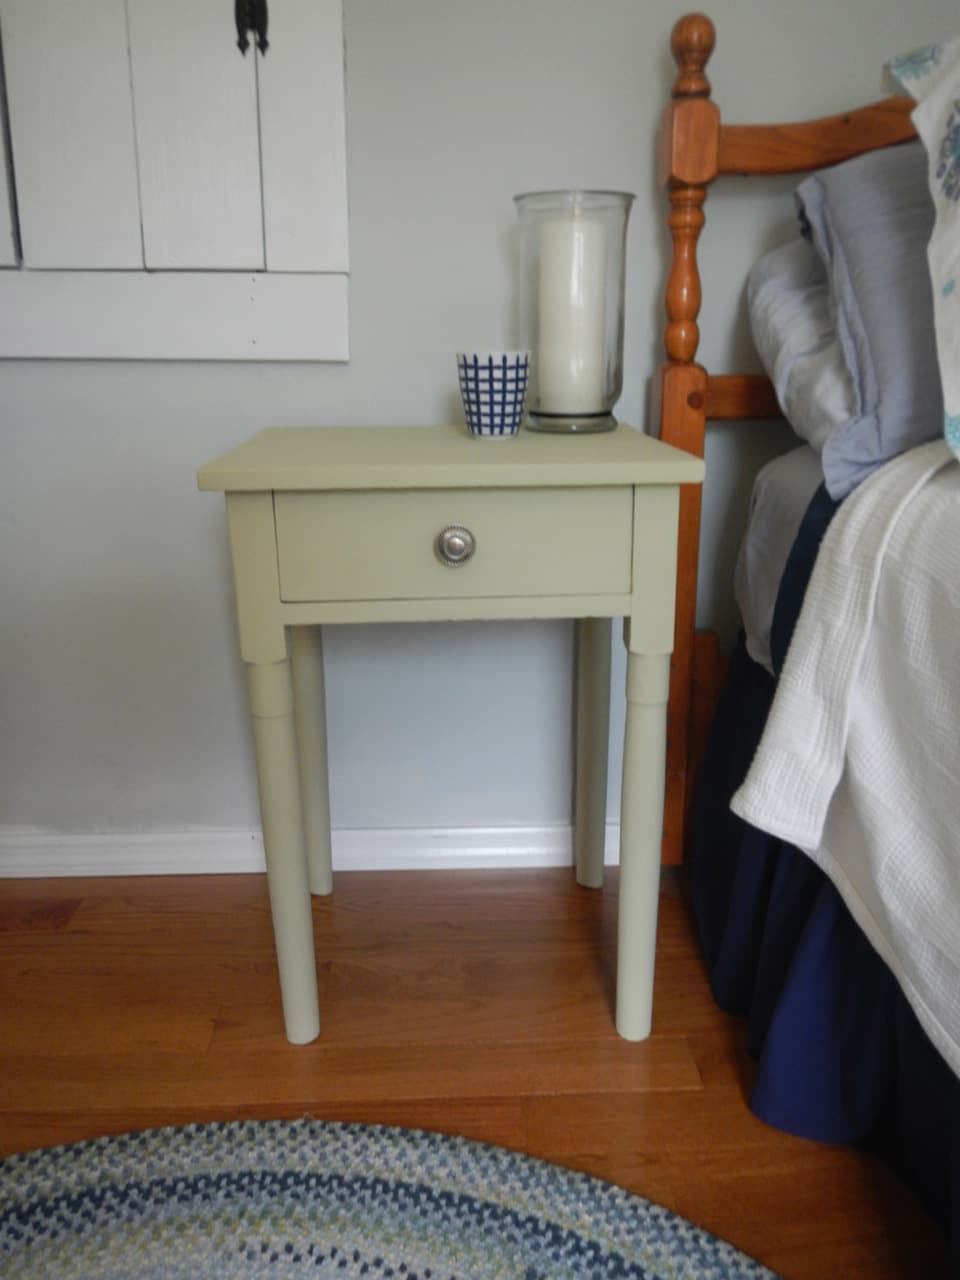
I love the knob. I think the beadwork is so charming.
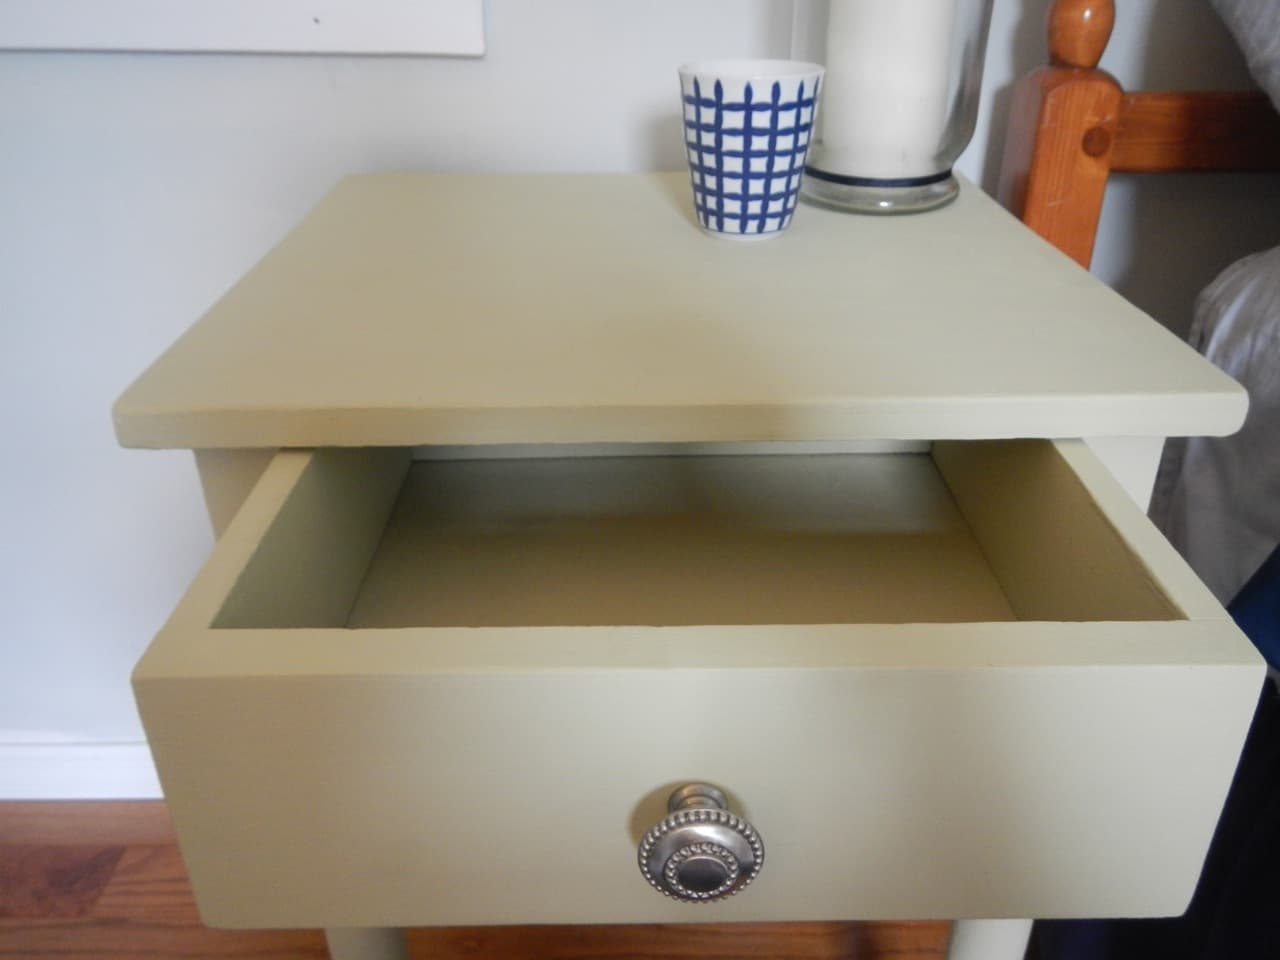
I especially love the functional extra storage, albeit tiny. I painted the inside of the drawer, too, for continuity.
All in all, I think it’s a solid addition that only set me back $15.57 from soup to nuts. You can’t find a solid wood table anywhere for that price these days. It wasn’t time consuming either, thanks to the ease of use and dry time of Annie Sloan Chalk Paint. I think I spent less than an hour on the whole thing, including picking out the knob!
Anyone else been stopping by any tag sales lately? I picked up a couple other items at this one. I’m just figuring out what to do with them before I show you. :) Hope you have a great week!!