With all of the recent snow and sleet, I’ve been stuck in the house a lot. I’ve been looking around and I’m really starting to notice all the projects I’ve started and haven’t finished. There are a lot. An embarrassing amount, really. The mirror was one of them. At least that’s done. We have a wine rack that’s still unfinished, pantry doors that are still half painted in the garage and a guest room that was supposed to be painted two years ago. Life happens, I guess. Right?
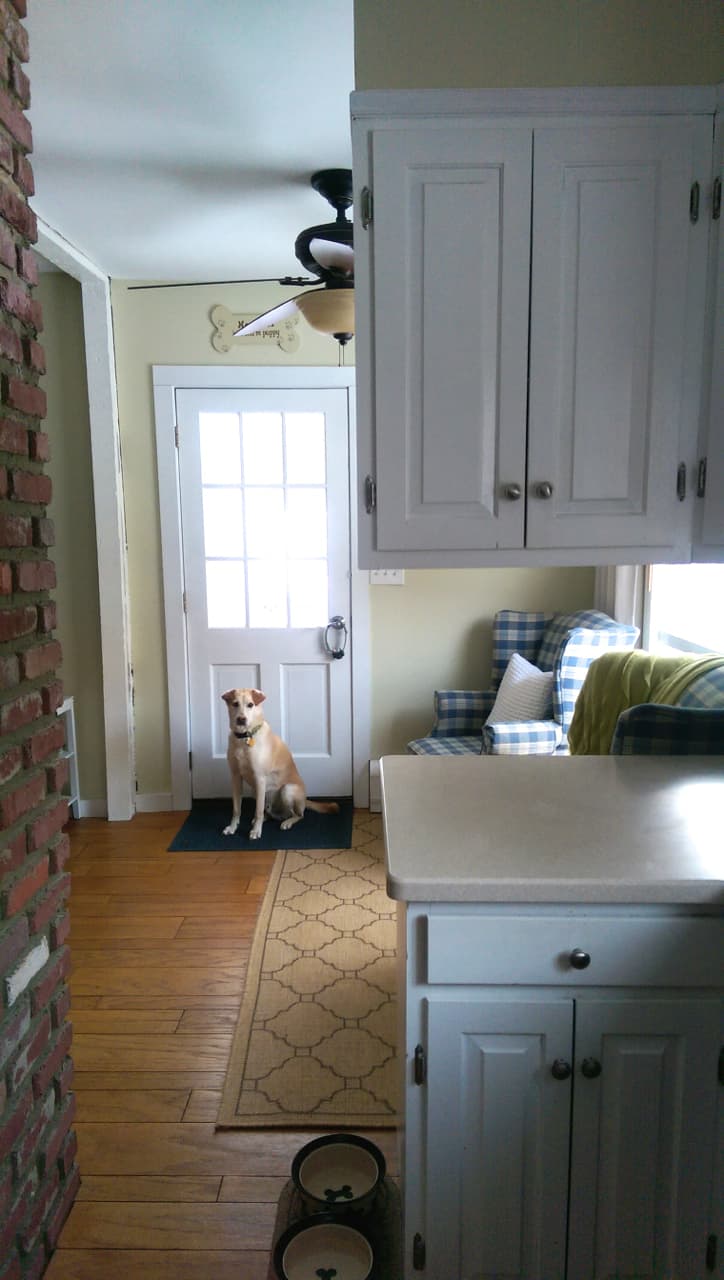
There are abandoned outdoor projects and abandoned indoor projects. Believe me, I am itching to get to the abandoned outdoor projects but the high was forecasted for 12 degrees one day in January, so I decided to tackle an indoor one. Wise, I know. Meet the new back door.
It looked like this when we moved in:

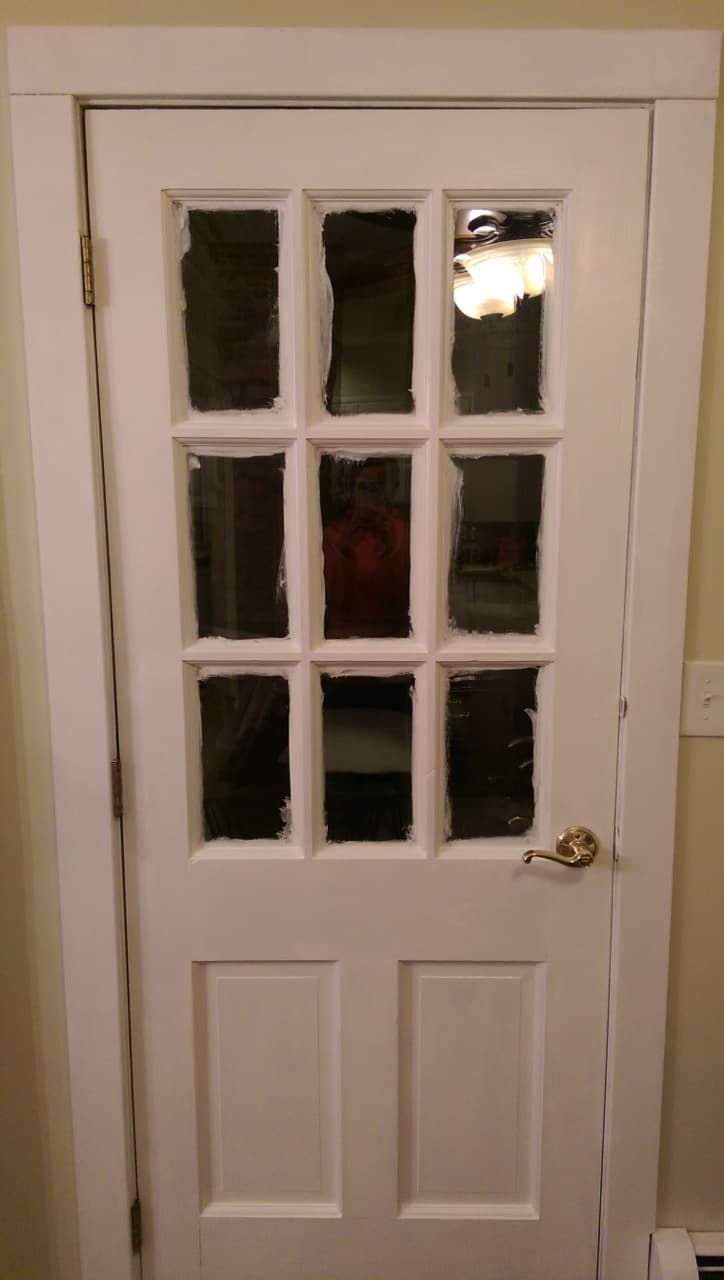
The first thing I did when we walked into our new home was rip down that curtain above. Yuck. I did a very cursory job of painting that back door when we painted the surrounding trim white, but it was never the job that I wanted. This is how gross it got before I finally needed to take action:

In case that picture doesn’t do it justice, let me call your attention to the area around the handle and dead bolt. Eek.
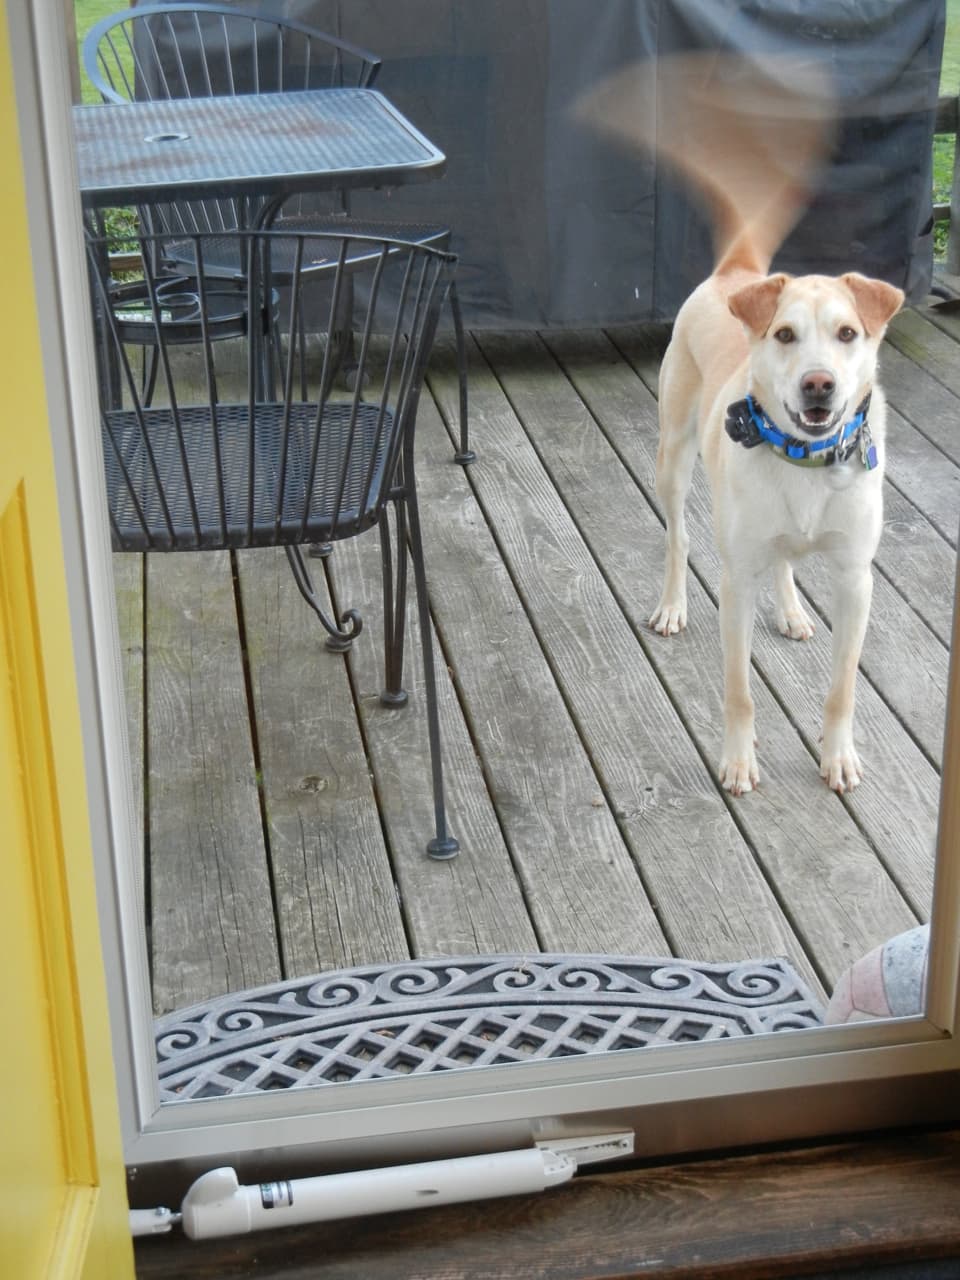
We use this door multiple times a day, year round, because we let Griff in and out to do his business and it’s our gateway to the grill and backyard. A few years ago, I painted the exterior of the door a bright cheery yellow and we even replaced the storm door.
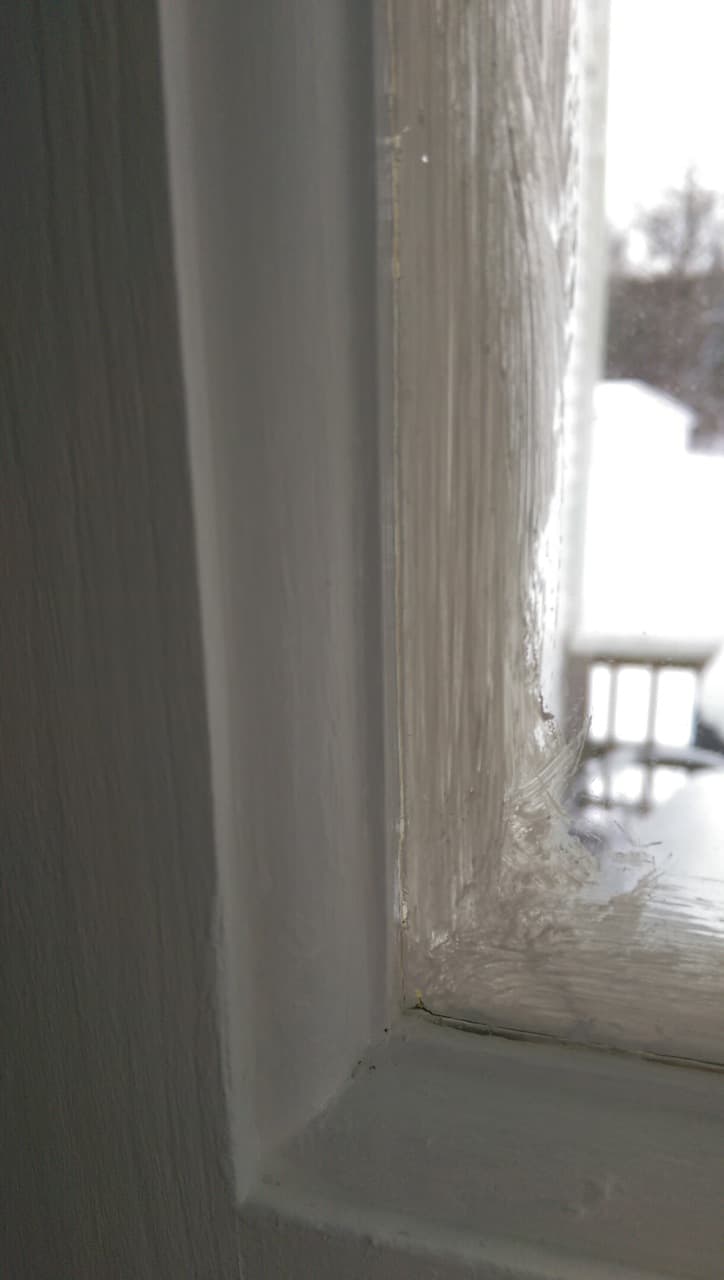
We had a window treatment there that Nana made but I was ready for a change. I took off the curtain valance and used wood filler to fill the holes so that when I painted, you wouldn’t be able to see where the old holes were. Then, I sanded those spots by hand and applied two coats of Annie Sloan’s Pure White as a tough primer. Next time I’ll buy real primer but I didn’t feel like leaving the house (12 degrees, remember?!) and used what I had. An expensive primer. Oh well. Things got messy.
Instead of taping, I figured I’d scrape it all off with a razor blade instead. It definitely got way worse before it got better. I finished with a semi-gloss Behr paint - ultra pure white to match the other trim and I was happy with it, even before scraping. I’m easy to please.
The scraping part was a little tedious at first but like anything, I got into a good groove. I dragged a razor blade all around the edges to “cut” a line into the lite, then I’d scrape away from the inside out and the paint just fell off. I think I left the paint on the lites for a week before scraping. (Yes, the pieces of glass in between the panes are called “lites.") You learn something new everyday - this nugget of information came from Nana.
I had a few helpers. I gave Harrison a dozen random kitchen gadgets and tried to keep him away from the fallen paint chips. Mother of the year!

I’m happy with the results. I will try to take a few better pictures when the snow melts off the back deck so there isn’t so much glare.
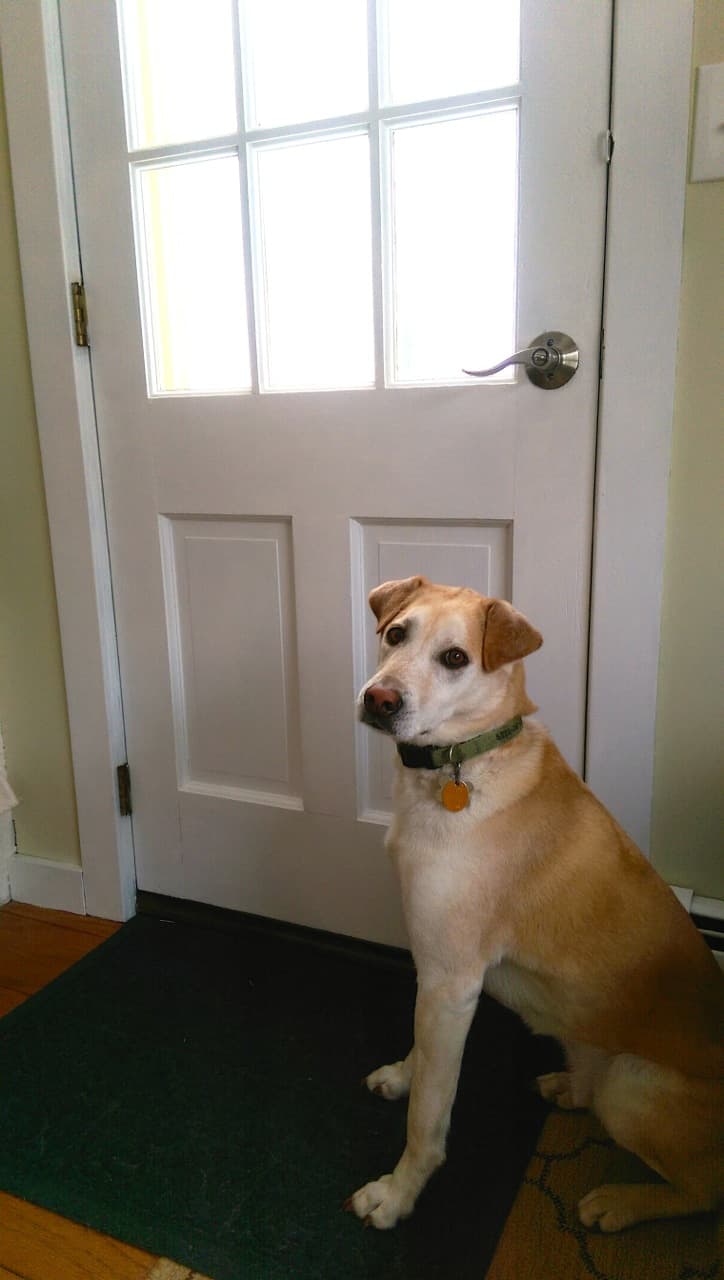
The new hardware came from Home Depot. I think it set us back about $40 or so. It’s a simple curved hand with interior lock and it’s a bit of an upgrade from the brass handle. I didn’t mind the brass that much, but I’m glad this handle matches the brushed nickel finish on the neighboring storm door.
I still have to figure out the dead bolt. We left the doorway hardware on but I’m not sure if I’ll buy a whole new dead bolt in brushed nickel or try to spray paint the one that was there. Stay tuned for that riveting decision.
Next up? Those damn. pantry. doors. Or maybe a gallery wall for the living room. We’ll see if the weather cooperates for any garage painting.
P.S. Have you you “Liked” School House Rehab on Facebook yet? If you haven’t, we can’t be friends. On Facebook. Duh. Click here to check out the page. See you over there!